
Oil paints are one of the most popular artistic mediums, and for good reason. They are versatile, archival, and economical. But it can be a struggle to pick up. There are some “rules” you need to be aware of and the techniques can take some time to become familiar with.
This guide covers most of the fundamental areas of oil painting to get you started.
- Why Oil Painting?
- What Is Oil Paint?
- Oil Painting Supplies
- Oil Painting Color Palette
- Surfaces to Paint On
- Oil Painting "Rules"
- Oil Painting Techniques
- Oil Painting Process
- What to Do After You Have Finished Your Oil Painting
- Oil Painting Books
- Oil Painting Videos
- Famous Oil Painters
- Famous Oil Paintings
- Oil Paint Clean-Up Time
- Varnishing Your Oil Painting
- Oil Paint Safety
- Additional Readings
- Want to Learn More?
- Thanks for Reading!

I’ll walk you through the entire process using one of my recent paintings. You’ll see how I go from idea all the way through to reflecting on the finished painting.

Why Oil Painting?
Why would you use oil paints over some of the other alternatives like acrylics or watercolors? Here are some reasons:
- They are versatile. You can vary the drying time and consistency of your paint dramatically using paint thinners and additional oil. This allows you to work with a wide range of painting techniques, including blending, glazing and scumbling.
- They were favored by the all-time greats of painting. It is hard to argue the downside of using oil paints when so many amazing artists used them to such success.
- Oil paintings seem to be held in higher regard by art collectors compared to acrylic paintings (there are some exceptions to this of course).
You really cannot go wrong with oil paints. If you are just starting out with painting, I suggest you jump straight into oil painting unless you really want to practice acrylics or watercolors.
If you think oil painting is too complex for you, then I urge you to reconsider. There are really only a few “rules” which you need to understand in oil painting (discussed later in this post) and the rest is pretty straightforward.
What Is Oil Paint?
Oil paint is comprised of ground-up colored pigment suspended in a drying oil, usually linseed oil. The quality of oil paint varies based on the quality of the pigment used, how fine the pigment is and the medium which is used.
You can make oil paint more fluid by mixing it with more oil, or by adding a solvent, however, this also weakens the paint. Oil paint is generally at its most stable form straight from the tube.
Oil Painting Supplies
Here is a basic set of oil painting supplies and equipment:
- A range of small to large paintbrushes designed for oil painting. Hog hair and decent synthetic brushes are great for oil painting. You should read my guide here on artist paint brushes for more information.
- An easel.
- A palette.
- A basic palette of paints (discussed below).
- A surface to paint on (discussed below).
- Odorless solvent.
- Linseed oil.
- Paper towel (for wiping your brushes).
I provide some more detail on the oil painting supplies in this post.
Oil Painting Color Palette
With your color palette, I suggest you use as few colors as possible. This will force you to learn how to mix your colors. At a minimum, you should have a red, blue, yellow, and white.
Here is my current color palette:
- Ultramarine blue
- Cobalt blue
- Cadmium yellow
- Cadmium yellow light
- Yellow ochre
- Cadmium orange
- Cadmium red
- Alizarin crimson
- Raw umber or burnt sienna
- Titanium white
You should also check out this post I wrote about the Zorn palette.
In relation to the different brands of oil paint, I have had no issues with any of the top brands (Winsor & Newton, Gamblin, Old Holland, Michael Harding, etc). Just make sure you purchase “artist quality” over “student quality” if possible. There is a notable difference.

Surfaces to Paint On
Canvas became the most popular surface to paint on around the 15th/16th century. Prior to that, wooden panels were used. There are two options with canvas:
Stretched canvas panels: Canvas stretched over a frame. These are what you will probably be doing most of your oil painting on.
Canvas boards: A cheap and sturdy alternative to stretched canvas panels. Canvas boards are usually just canvas attached to a sturdy surface like cardboard. I use these for study works and demonstrations.
You can also paint on other surfaces, such as wooden boards, but you need to make sure that the surface you paint on has been primed with gesso.
Oil Painting “Rules”
In oil painting, there are some “rules” which you should follow to avoid your paint cracking.
Fat over lean: As noted earlier, oil paint is basically colored pigment that is held together by some kind of drying oil. The more oil present, the “fatter” the paint is and the slower it will dry. In general, you want to make sure the top layers of paint are fatter (or oiler) than the lower layers. Otherwise, the layers on top will dry faster than the layers below and the paint will crack.
Thick over thin: The reasoning behind this rule is the same as the above rule. You want to make sure the paint at the top dries slower than the paint at the bottom. Thick paint will usually dry slower than thin paint.
In practice, I will start a painting with thin paint which has been mixed with some odorless solvent. Then I start using paint straight from the tube and take advantage of the paint texture.
Tip: Visible brushwork is a fantastic element of painting, but it is often overlooked by beginners. Below is a close-up of one of my paintings which demonstrates visible brushwork. This kind of visible brushwork is only possible when you use a brush loaded with thick paint.

These rules are only really applicable to the traditional painting approach where you would paint layer on layer using glazes. If you paint alla prima then you do not need to worry as much about these rules. However, it is still important to understand them.
If you want to make sure you never have an issue with the fat over lean rule, then just use paint straight from the tube. This way most of the paint will have a similar drying time and the paint on top should not dry any faster than the paint at the bottom. However, this is not a hard and fast rule as the drying time of paint is influenced by many factors. But you should not have any issues in practice.
Oil Painting Techniques
I discuss the different oil painting techniques in this post. Here are the techniques which I use most frequently:
- Scumbling – This is a dry-brush technique that involves gently dragging your brush over the canvas to produce a broken color effect.
- Thin washes with solvent – By mixing oil paint with solvent, you can produce a very thin wash of transparent color which dries fast. This is how I usually start my paintings.
- Multi-colored brush strokes – If you leave various colors unmixed on your brush, you can create these beautiful multi-colored streaks.
I do not use glazing all that much. I prefer to build up paint on the canvas by using scumbling, as it can produce an interesting broken color effect.

Oil Painting Process
Here is my general approach for completing an oil painting:
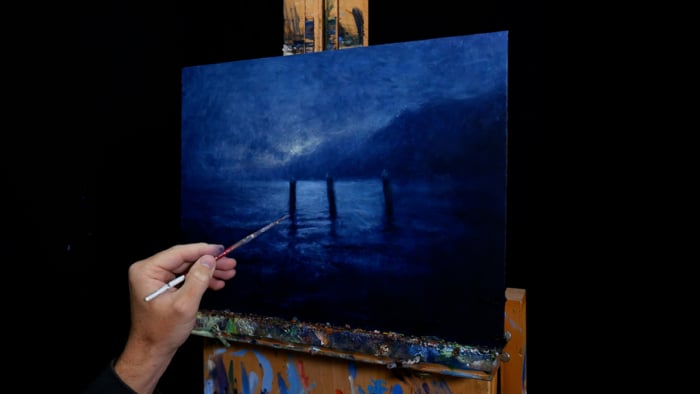
First, I stain the canvas with a thin wash of paint plus solvent. I generally use some kind of earth tone like raw umber or burnt sienna. This gets rid of any white on the canvas, which can be difficult to paint on top of.
Second, I do a rough sketch of the composition. I will use more detail for more complex subjects.

Third, I quickly block in the general shapes and colors, trying to establish the structure and color harmony. I do not want to get caught up in the detail just yet.

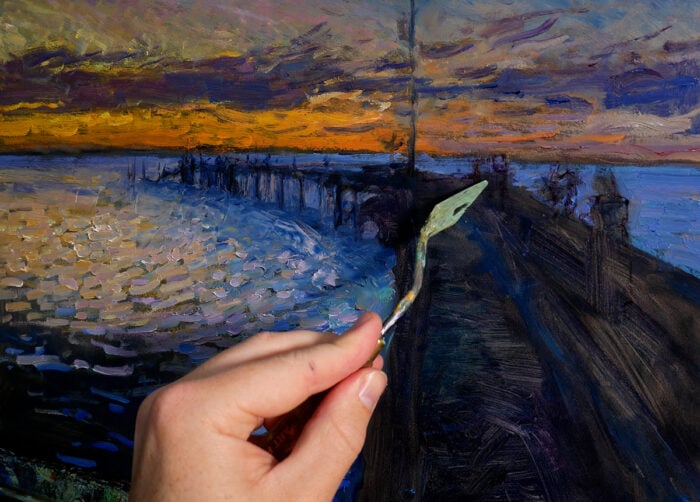
Forth, I refine what is on the canvas until there are no more problems to solve.
Fifth, I sign the painting and go through my post-painting processes.

Here are some tutorials which demonstrate my process:
Landscape Painting Tutorial – Painting The Overland Track Using Oils
Oil Painting Tutorial For Beginners – Overcast Day In Bali
Oil Painting Tutorial – New Zealand Reflections
Painting Tutorial – Secrets On The Lake On A Bright, Sunny Day In Oils
Painting Tutorial – Afternoon In Queenstown, New Zealand
Landscape Painting Tutorial – Mount Barney
What to Do After You Have Finished Your Oil Painting
Here is a summary of what I do after I have finished an oil painting:
- I leave it on the easel for a few days to see if I am truly happy with the result.
- I wait for an overcast day to photograph the painting outside.
- I leave the painting somewhere safe to dry (out of any direct sunlight and preferably away from dust).
- I write a tutorial about the painting on Draw Paint Academy.
- I post the painting on any relevant social media platforms.

Oil Painting Books
Alla Prima II – Expanded Edition Everything I Know about Painting–And More
Fill Your Oil Paintings with Light & Color
Landscape Painting: Essential Concepts and Techniques for Plein Air and Studio Practice
Ken Howard a Personal View: Inspired by Light (Atelier Series)
Daily Painting: Paint Small and Often To Become a More Creative, Productive, and Successful Artist
There are some more books included in my oil painting reading list.
Oil Painting Videos
You can see my oil painting videos here.

Below are some other channels you might be interested in:
The Art Students League of New York
Famous Oil Painters
Here are some famous oil painters you should explore:
- Vincent van Gogh
- Frida Kahlo
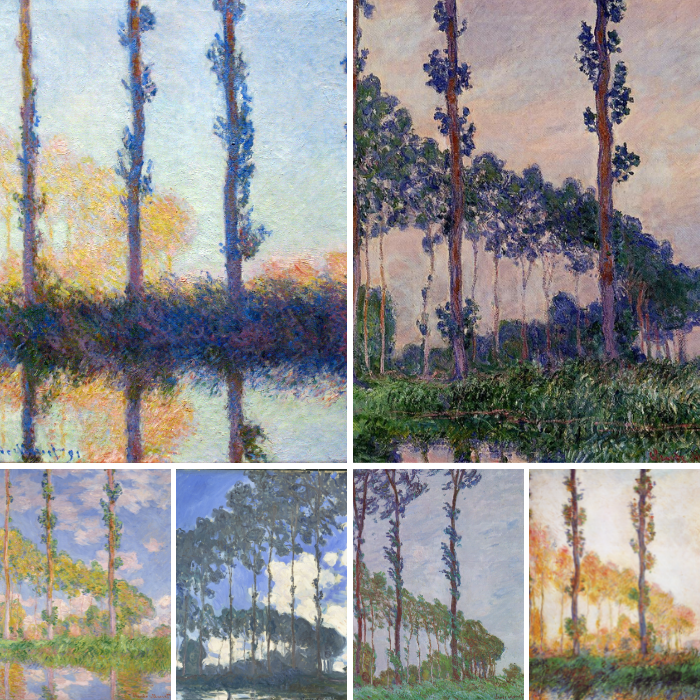
- Claude Monet
- Rembrandt
- Joaquín Sorolla
- Berthe Morisot
- John Singer Sargent
- James Abbott McNeill Whistler
- Caravaggio
- Lucian Freud
You can see beautiful close-ups of these paintings on Wikiart.

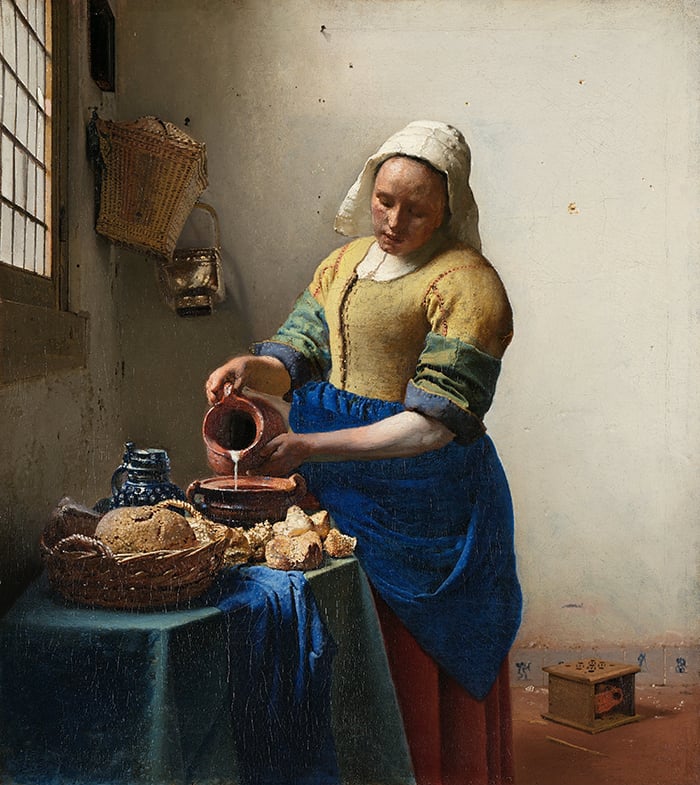
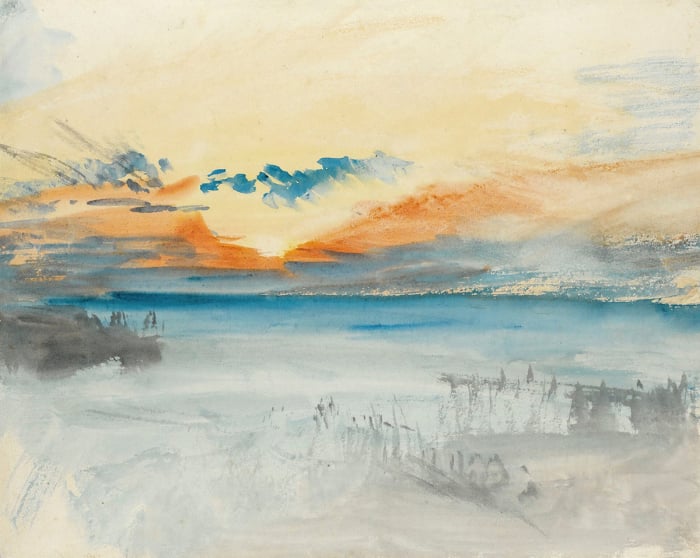
Famous Oil Paintings
There have been many famous oil paintings created, too many to even fathom. Here are just a handful of famous oil paintings from various eras:


Oil Paint Clean-Up Time
The downside of oil painting is the cleanup time. No matter how hard I try, oil paint just seems to just get around. To clean up after your oil painting session, you can use soapy water but more preferably solvent or turpentine. As the paint is oil based, water is not effective.
You also need to make sure you take care of your brushes. Your brushes will not last long if you do not properly clean them after a session (and you do not intend to use them again in the near future). I usually just take the brushes and work them on a bar of soap and then rinse them through warm water. You can read more about cleaning your oil paint brushes here.

Varnishing Your Oil Painting
You can varnish your oil painting to protect it from the environment. Over time, dust, debris, wind and other elements can damage an unvarnished painting.
Varnish acts as a layer between the paint and the environment. But you need to ensure that the varnish you apply is removable. This allows for the painting to be restored at a later time if needed (colors tend to fade over time).
The process is fairly simple. You need to wait for the painting to dry completely. For paintings with thick paint, this could take up to 3 months.
You generally have the choice between gloss or matte varnish. This is mostly up to personal preference.
Then, take your varnish and spread it evenly over your painting using a large brush. Here is a demonstration of the process:

Oil Paint Safety
Oil paint and the relevant mediums are toxic, so you need to handle them with care. If you are sensitive to the chemicals, you might want to consider using gloves. And, of course, keep your paints out of reach of children.
You should also make sure you paint in a well-ventilated area.
Additional Readings
Oil Painting Tips For Beginners
Acrylic versus Oil Painting – Which Medium Should You Start With?
7 Of The Best Oil Painting Demonstration Videos On Youtube
9 Oil Painting Techniques For Beginners
Want to Learn More?
You might be interested in my Painting Academy course. I’ll walk you through the time-tested fundamentals of painting. It’s perfect for absolute beginner to intermediate painters.
Thanks for Reading!
I appreciate you taking the time to read this post and I hope you found it helpful. Feel free to share it with friends.
Happy painting!
Dan Scott

Draw Paint Academy
Warum nicht auf deutsch? schade, möchte davon lernen !
Hi there
All our content is in English, but some posts you might be able to copy the text and translate it to your preferred language 🙂
Chontele
I’m honestly surprised that this article doesn’t mention Bob Ross. His work might not be “classic” like the other artists, but he is a very famous painter.
I am about to start my first on-my-own oil painting and I’ve been stalling for a week – where to start? what technique to use? ….. I appreciated your 1-2-3-4 step explanation. This is what I do first, 2nd…. I’ve taken some classes and used different techniques, i.e. underpainting, glazes, background first, background last. Now on my own and I’m lost and confused. Thanks for your step by step guide!
Very good recommendations
This was incredibly helpful as someone totally unexperienced with oil painting! I would like to offer a quick correction though, “The Birth of Venus” by Botticelli was painted with tempera, not oils!
Is there any alternative paint thinner that I can use until I get some?
Hi Ruthanne
If you are using oils, it is possible to paint without any thinner. Just use paint from the tube.
Hope that helps!
Dan
Thank you for this information – so helpful! I also read your detailed post on cleaning paint brushes. I’m worried about paint, linseed oil, and the Bob Ross brush cleaner/conditioner going down the kitchen sink. That doesn’t feel like it is good for the environment, but I’m not sure. I’m pretty sure that putting solvent or turpentine down the sink would not be a good idea. Do you have information about how to be responsible and not cause harm when using solvents or the specialized brush cleaners?
Hi Kim. You might want to contact your local council to see what the best option would be. One thought is to put all the excess solvent and turpentine into a bag and take that directly to your local tip. Kind regards, Dan
Turpentine, along with other solvents, should NOT be washed down the sink as it is bad for the environment. Please see website below or you can download the MSDS for more information.
https://www.koh-i-noor.cz/media/files/content/turpentine-oil-100ml.pdf
Thanks for adding that Elli!
Dan
Thank you!! I am about to start oil painting and was nervous about it. You have eased my mind and the detailed explanation about the techniques and the process are perfect.
Happy to have helped Dorothy! Good luck. Dan
This was A to Z information about oil paintings thanks for sharing very useful
Amazing guidance you are so selfless generous to share