The most difficult strokes to make in an oil painting are the first and last strokes. The first strokes are because you may not know where to start and the last strokes are because you may not know when to stop. This post is all about how to start an oil painting to help you make those first strokes. In this post, I cover:
- The Glaring White Canvas
- Staining the Canvas
- Identifying the Critical Reference Points in Your Painting
- Turning Those Reference Points Into a Drawing
- The Different Ways to Progress From Here
- Additional Readings
- Want to Learn More?
- Thanks for Reading!
The Glaring White Canvas
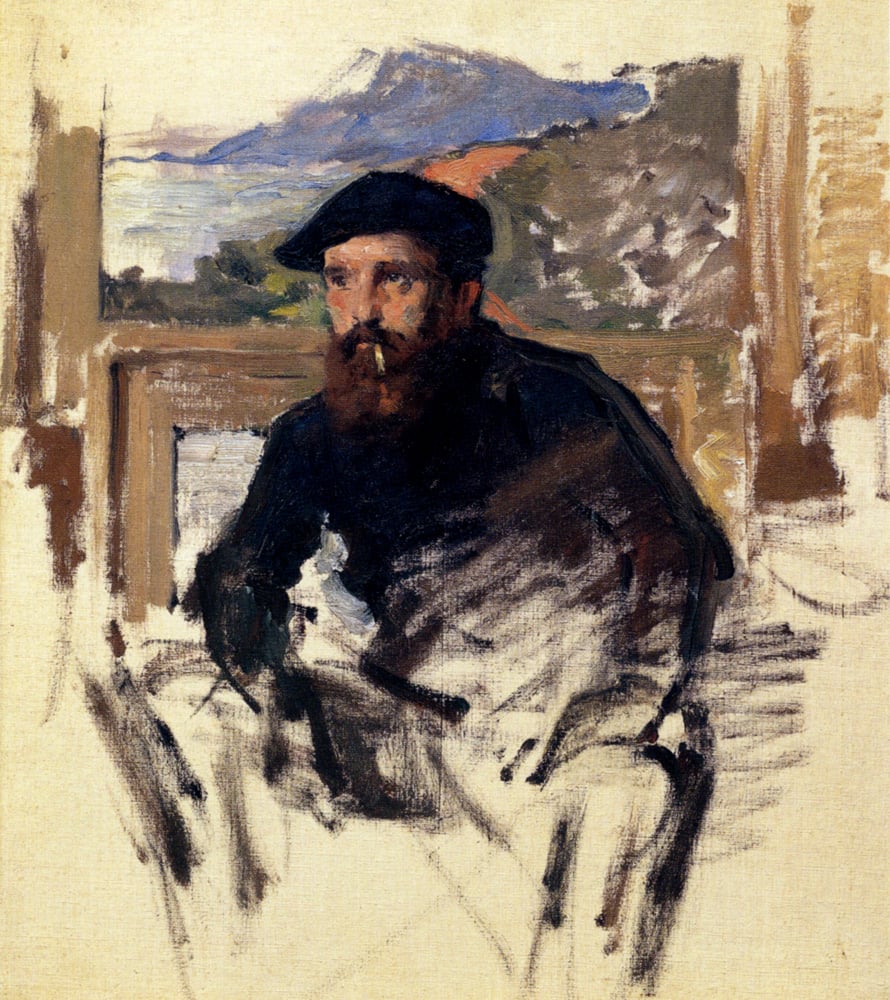
The glaring white canvas tends to be an intimidating force. As Vincent van Gogh once said:
“The canvas has an idiotic stare and mesmerizes some painters so much that they turn into idiots themselves.”
The longer you leave the glaring white canvas on your easel, bare of any paint, the more intimidating it becomes.
So, the most important step to starting an oil painting is to just start! Make those first few strokes and attack the white canvas. The easiest way to kill the white canvas is to stain the canvas or do an underpainting.
Staining the Canvas
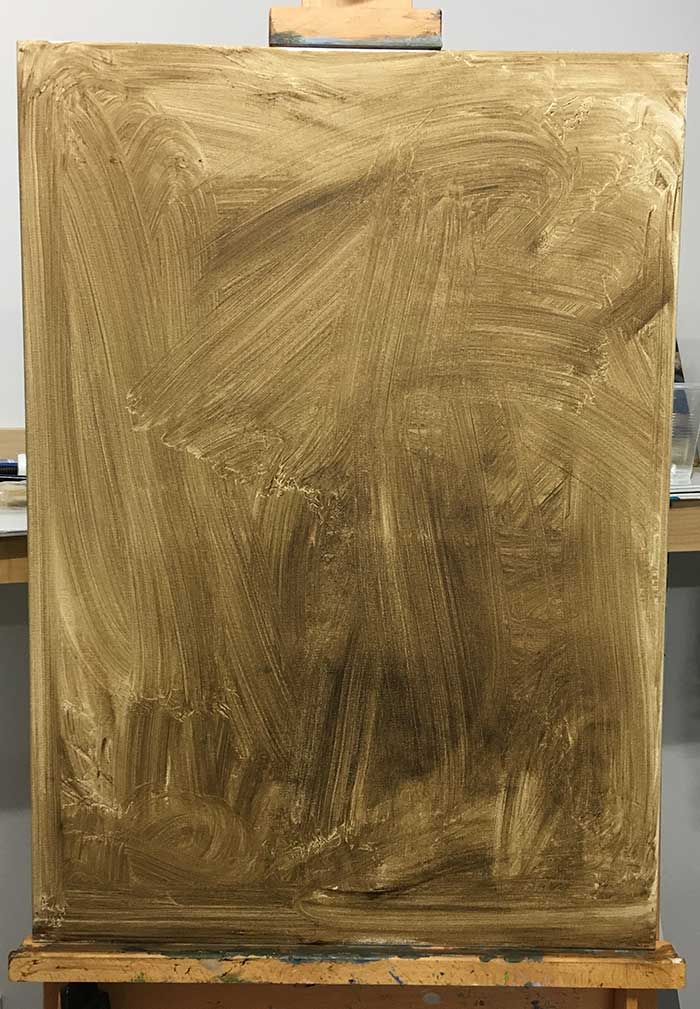
I start most of my oil paintings by staining the canvas with an earth tone such as raw umber. I do this by taking raw umber and smearing it directly on the canvas from the tube. I then use a cheap cloth dabbed in some odorless solvent to wipe the paint all over the canvas. The result is a coffee-stained appearance which is much less confronting to paint on.
Sometimes I will use this process to warm up my hands and get a feel for the composition. I can make inconsequential strokes with my brush to help get a feel for where things will be positioned. Then I will wipe the canvas down so that there is no excess build-up of paint. I want this layer to be thin so that it dries quickly.
I do not mind if there are different textures and brush markings on the canvas as this creates an interesting surface to paint on, especially if I am painting a landscape. If you were to paint a realistic portrait, then you may want to ensure you have a more smooth and consistent surface.
Identifying the Critical Reference Points in Your Painting
Once I have stained the canvas, I will usually let that dry for about 30 minutes. It does not need to be dry to the touch.
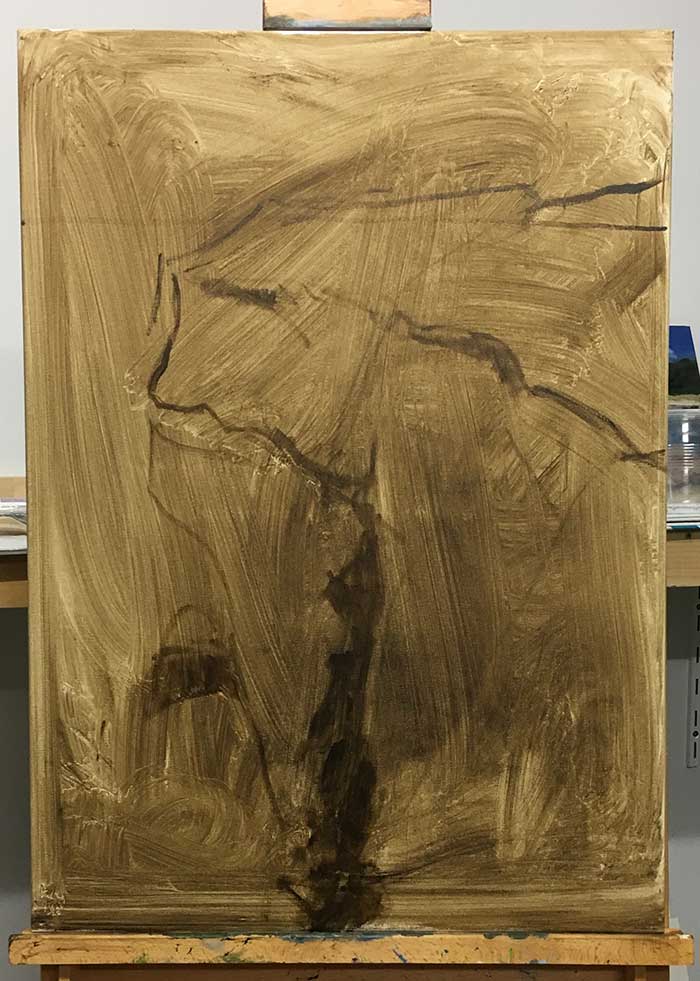
I will then map out the critical reference points in the painting. These are important structural points that will help me with the rest of the drawing.
These are examples of critical reference points:
- The horizon line;
- The edge of a cliff;
- The top of a building; or
- The peak of the tree line.
Once I have identified these points, I can use them as references to map out where everything else is positioned. This is done by comparing the relative distances between elements.
For example, say I am painting a landscape and I am trying to work out where to position the clouds in the sky. I could do this by first identifying the horizon line (a critical reference point). Then I can observe where the clouds are located relative to the top of my painting and the horizon line. If the clouds start about half-way between the top of the painting and the horizon line, then that is where I will paint them.
These critical reference points are extremely important and you should take care to identify them correctly in your painting. If you position a reference point in the wrong place, then this will negatively impact the rest of your painting.
Turning Those Reference Points Into a Drawing
Now that you have some critical reference points, you should be able to start turning those reference points into a drawing.
The drawing you do will depend on the complexity of the painting. If you were to paint an intricate still life, then you may want to use a lot more detail than if you were to paint an impressionist landscape.
The drawing should build on the reference points and start identifying important shapes, lines and any other details. But remember, you will be painting over this so you do not need to include every single detail in your drawing.
The Different Ways to Progress From Here
At this point you have the canvas stained, the critical reference points identified and the initial drawing complete. There are a number of different ways you can proceed.
If you are painting alla prima, then you can start painting directly on top of your drawing. If you are using a more traditional approach such as glazing, then you may want to complete a more detailed underpainting.
Some of the different oil painting techniques are discussed in this post.
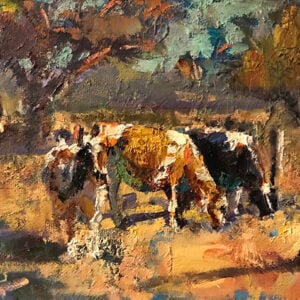
Below is an example of how I sometimes proceed after the drawing. I block in the general shapes and colors of the painting using thinned paint. The result is a no-frills painting. After this I go over and build up texture and detail, leaving some areas exposed in the finished painting to produce an element of depth.

Additional Readings
Oil Painting – The Ultimate Guide For Beginners
9 Oil Painting Techniques For Beginners
How To Clean Your Oil Paint Brushes
Oil Painting Tips For Beginners
Oil Paint Drying Time And How You Can Manipulate it
Want to Learn More?
You might be interested in my Painting Academy course. I’ll walk you through the time-tested fundamentals of painting. It’s perfect for absolute beginner to intermediate painters.
Thanks for Reading!
I appreciate you taking the time to read this post and I hope you found it helpful. Feel free to share it with friends.
Happy painting!
Dan Scott

Draw Paint Academy

Thanks for putting this into words Dan, its always a bit intimidating laying down the first lines, even if you know what you are going to paint. Sometimes if I am not sure what I am painting I will hit the canvas with a paint stained rag, imaged soon present them selves which stimulate the creative juices. Some of my most interesting works have been started in this fashion.
Keep up the good work
Regards Norm
Thanks for the kind words Norm. Great comment. Sometimes, inspiration can be drawn from what you put on the canvas.
Dan
I feel the same way, Norm. Thanks Dan.
No problem Barabra. Thanks, Dan
I am getting over the urge to paint every detail. I don’t want to be modernistic but I enjoy taking broader strokes. Your post is helpful.
Glad to help Chuck. It can be difficult to overcome the urge to detail everything. I need to remind myself whilst painting to stay broad for as long as possible. I usually do this by just sticking with larger brushes.
Dan
RESPECTED SIR,
THANKS FOR GUIDING US, REALLY INVALUABLE PEICE OF ADVICE
THANKS A LOT
WARM REGARDS
Really glad to hear Pradeep!
Dan
Dan,,, thanks so much!! I had been looking for “exactly” this information as I begin my second chance at oil painting. Have not painted in over 40 years. I also really appreciate your e-book!!! It is amazing and I am wanting it in hard copy !!
(laughing,,, I know you said “hard-copy” is a great deal of work.)
Absolutely wonderful to receive your email about oil painting!!
THANKS AGAIN !!!
Sherrie
My pleasure Sherrie 🙂 Thanks very much for the kind words.
Dan
Thanks Dan for all the information that you are giving to all beginners like me.
No problem Ally glad you enjoy it!
Dan
I am enjoying all of this. Thank you for paying it forward. I have been practicing signing my paintings by the way! I really enjoyed that little article.
Thanks Loretta!
I’m really gratefull for all the advice and the fact that it is free. I think it is most generous of you.
No problem at all thanks Sally! Dan
The first two sentences of this post are so wise! You need to include this quote by you in one of your lists of inspiring quotes. 🙂
I AM NOT A TALENT PAINTER , BUT I AM STUDYING PAINTING SINCE 1978 BY ONE TO ONE , IN A GROUP, BY MYSELF AT HOME, BY DRAWING, BY USING OIL COLORS OR LATELY ACRYLIC COLORS BUT SINCE I AM I START TO RECEIVE YOUR MAILS I CAN SAY THAT I UNDERSTAND MUCH MUCH BETTER WHAT ONE HAVE TO D IN ORDER TO MAKE THE ART WORK BETTER. THEREFORE I JUST WANT TO THANK YOU FOR ALL YOUR IDEAS AND ADVISES.
Thank you! I am happy to hear my information is helpful to you. Dan
Hi there thanks for your helpful posts as Im a total beginner
May I please ask, what solvent to use to thin oil paint?
Thank you
Hi Liana
I just use odorless solvent by Winsor & Newton.
Thanks, Dan
Thank you Dan. This information is just what I need. It will aid me a lot. I hate the white canvas staring back at me, lol.
Hola Dan,afortunadamente me acabo de encontrar con tu página en la que generosamente entregas tus conocimientos pictóricos,acto que se agradece y,de cuya lectura,quiero alimentar mi alma de tu noble esfuerzo y talento,del cual aprovecharé tus nobles consejos.Desde Chile,recibe un gran saludo y mi agradecimiento.
Dobro članak.
A Happy 2022!!!!
Dan,
Yours is the very first art article that piques my interest coz as much as I love watching some art YT tutorials, I RARELY follow their techniques/guidelines…just do my own stuff aka My Way à là Frank Sinatra lol. I mean art is supposedly to creating your unique avant garde style, right?
And I LOVE LOVE LOVE unfinished arts like that wonderful one of Claude Monet that pulls me into reading yours. Thank u so much! I have not seen that one before, such a beautiful painting that is!
This profound genre shows the anima of the artist when he first starts to paint.
With Warm Regards.