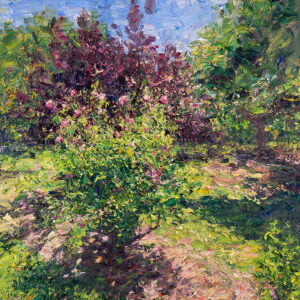
(My “On the Easel” posts give you a behind-the-scenes look at what I am working on, what went well, what went wrong, and things I learn.)
Below is Creek After Flood. It has been flooding heavily throughout Brisbane over the last few months. With that, many of the tiny creeks are flowing strong and the nature is thick and lush.

Reference Photo
Here’s the reference photo I painted from:

Feel free to paint it yourself.
Details
- Oil on Ampersand Gessoboard. 12 x 16 inches.
- Main colors: Ultramarine blue, cobalt blue, cadmium red, alizarin crimson, cadmium yellow, cadmium yellow deep, viridian green, transparent brown oxide, violet, and titanium white.
Refer to my supply list for more details on what I use.
Notes
- This painting is a great exercise in simplification. The scene is filled with “noise” with all the colors, highlights, shadows, leaves, rocks, ripples, reflections, patterns, shapes, and lines. Trying to paint all this without simplification would be overwhelming. In practice, this meant using larger brushes and focusing on simple color shapes rather than all the tiny details.
- I pushed the colors, as they appeared stronger in life than the photo shows.
- I painted this over several sessions. Part of the painting was done wet-on-wet and part was done wet-on-dry. Ideally, I would have finished this painting in a single session and all wet-on-wet, but life doesn’t always allow that (especially with a 10-month-old baby running rampant).
- I used broken color to convey the reflections and ripples in the water. It was a challenge to get the colors and values right for this area. I had to try and see each color objectively, rather than rely purely on instinct.
- I drew inspiration from Canadian artist, Tom Thompson.
Progress Shots
Step 1: Stain the canvas with transparent oxide brown then apply a rough sketch.

Step 2: Paint the sky, trees, and the middle-ground. Work directly, using thick, undiluted paint and multicolored strokes.

Step 3: Apply a dark base for the water and shore. This is a mix of violet, ultramarine blue, and alizarin crimson.

Step 4: Work on the water and broken reflections.
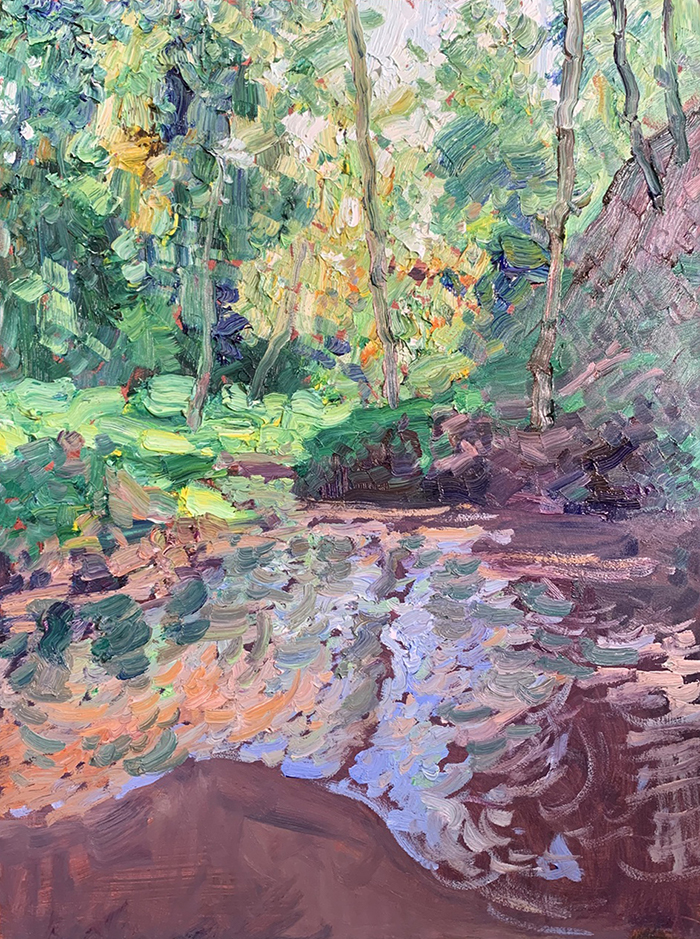
Step 5: Refine the water. Use broken color to capture its overall appearance and movement.

Step 6: Make finished touches then sign and photograph the painting.

Additional Resources
- More “On the Easel” Posts
- Supply List
- Broken Color
- How to Paint Water
- A Guide to Alla Prima (Wet on Wet) Painting
Thanks for Reading!
Thanks for taking the time to read this post. I appreciate it! Feel free to share with friends. If you want more painting tips, check out my Painting Academy course.
Happy painting!

Dan Scott
Draw Paint Academy

