(My “On the Easel” posts give you a behind-the-scenes look at what I am working on, what went well, what went wrong, and things I learn).
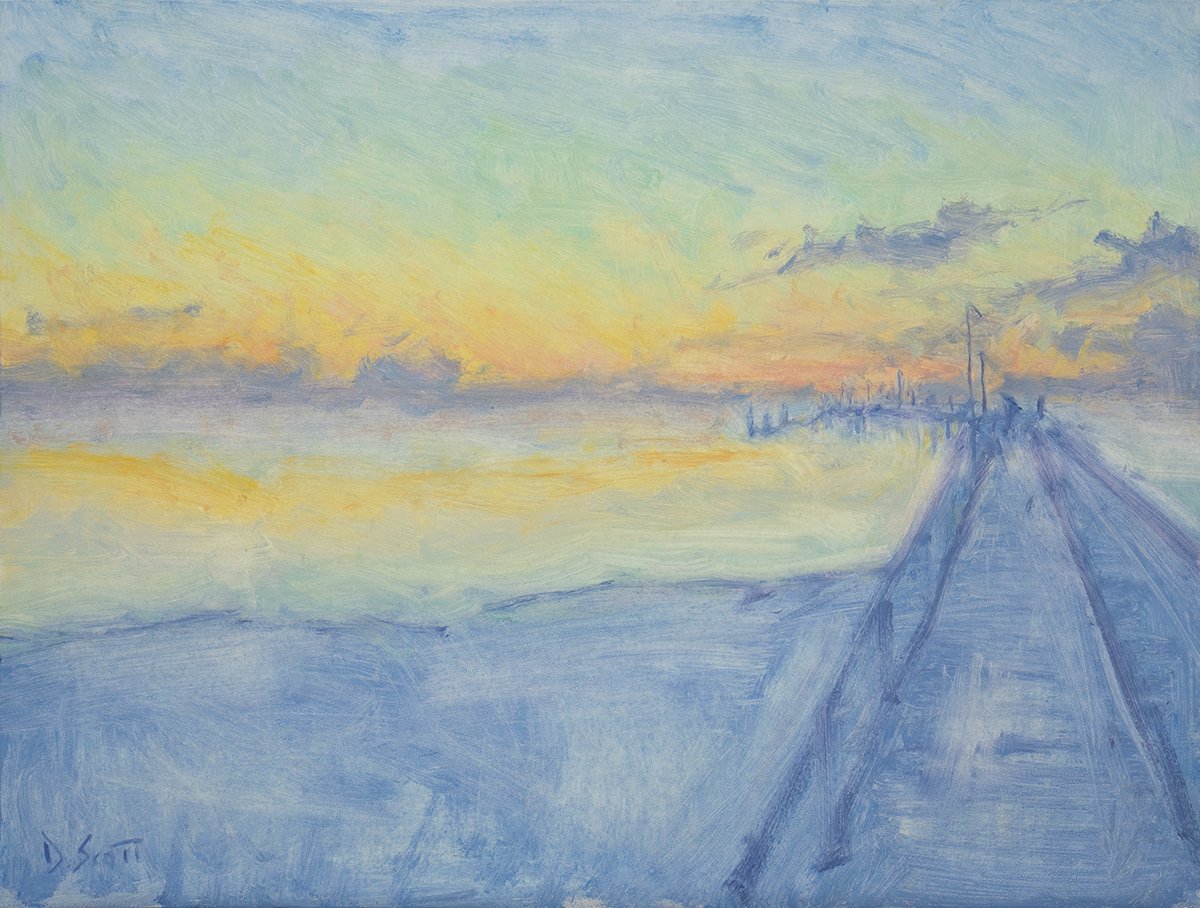
Below is Fraser Island, High Key. It depicts Kingfisher Bay’s jetty at blue hour—that brief period after the sun falls below the horizon line and all of nature’s pastel colors come out. A challenging moment to paint, given its fleeting and subtle nature.
Reference Photo and Study
I painted from a reference photo and a group of color studies done at and shortly after the Fraser Island trip. Though as you can see below, the reference photo is lacking in terms of color. This is not how I remember the scene, but it’s useful in terms of composition, drawing, and detail.

My color studies are a more accurate depiction of my experiences.

Details
- Oil on Ampersand Gessoboard. 12 x 16 inches.
- Main colors: Ultramarine blue, cobalt blue, cadmium red, alizarin crimson, cadmium yellow, cadmium yellow deep, viridian green, and titanium white.
Refer to my supplies list for more details on what I use.
Notes
- I painted in a high key, meaning all the colors are compressed towards the light side of the value scale.
- At best, high key paintings appear sophisticated and shimmering. See Fred Cumming’s work. He’s one of the artists in my Exploring the Masters email series. At worst, high key paintings appear flat and weak.
- A key benefit of painting in a high key is it gives you a chance to use more color in the darks—blues, greens, purples, reds, etc. Notice the blue dark accents in this painting. But, this comes at the sacrifice of a full range of values. It’s the opposite of chiaroscuro (think Rembrandt or Caravaggio).
- I used thin layers of paint, partially exposing the white surface. This allowed me to paint with more intense colors whilst keeping the appearance light and within the high key.
Progress Shots
Step 1: A simple sketch, focusing on key lines and shapes.

Step 2: Thin washes of bright color.


Step 3: Wipe down the surface from side to side with paper towel. This blended the edges, removed the excess paint, and set the stage for the rest of the painting.

Step 4: Add stronger colors, particularly for the darks.


Step 5: Refine and detail.
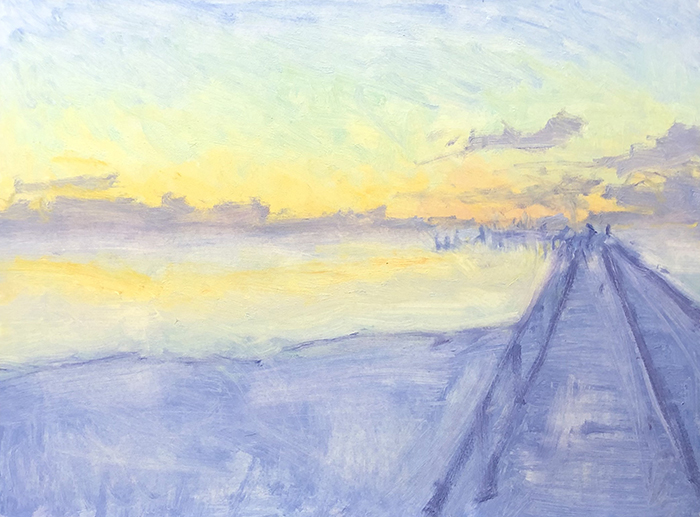
Step 6. Sign and photograph the finished painting. Keep in mind, I use a different, higher quality camera to photograph my finished paintings. So that explains why the photo below looks a touch darker than the progress shots.

Additional Resources
Thanks for Reading!
Thanks for taking the time to read this post. I appreciate it! Feel free to share with friends. Want to learn more about landscape painting? Check out my Landscape Painting Masterclass.
Happy painting!

Dan Scott

Thankyou really helpful