Here are 10 landscape painting tips perfect for beginners. Landscape painting can be as simple or as complex as you want to make it. It is a fantastic subject for those just starting out with painting, but very few artists actually master the art of landscape painting.
Whilst these tips are targeted at beginners, even advanced artists may find value in revisiting the basics. This post will cover the following:
- 1. Simplify the Clutter
- 2. Use the Palette Knife to Add Texture and Crisp Edges
- 3. Give the Illusion of Numbers
- 4. Subtle Variations With a Limited Palette of Colors
- 5. Color Temperature Is Relative, Not Absolute
- 6. Learn to Embrace Imperfection
- 7. Start Dark and Work up in Value
- 8. Incorporate Timed Sketches to Improve Your Judgment
- 9. It Is All Just Shapes, Lines, and Colors
- 10. Go Black and White or Monotone to Increase Your Understanding of Value
- Want to Learn More?
- Thanks for Reading!
(Before diving into this post, make sure to pick up a copy of my free Landscape Painting Starter Kit.)
1. Simplify the Clutter
Too many artists get caught up in the detail of landscapes. There are times to add tedious detail, but these times are generally towards the end of the painting.
It is often much more effective to emphasize certain areas of the painting (your focal points) and leave the rest of the work to the imagination. You can emphasize your focal points in several ways, such as by:
- Using more delicate brushwork compared to the rest of the painting
- Using brighter colors
- Using more saturated colors
- Creating sharp contrast in colors or values
- Using more crisp brushwork or using palette knives
These points are only effective in emphasizing your focal point if you simplify the rest of the painting.
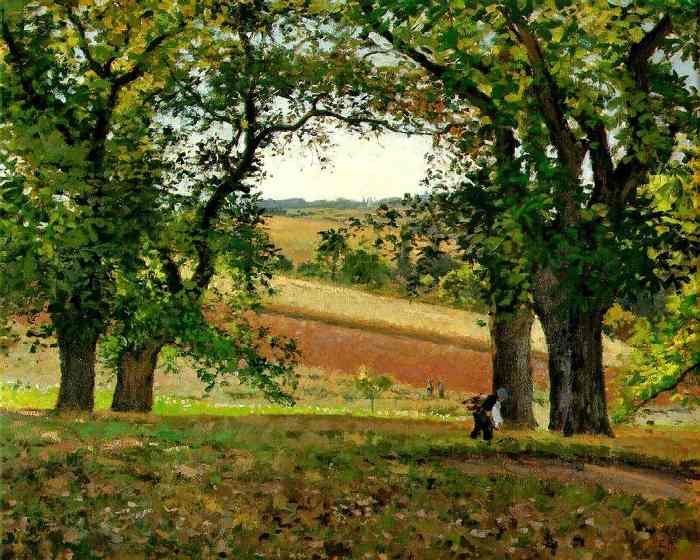
Check out the above painting by Camille Pissarro and look closely at how much detail is added. Notice how when you focus on certain areas of the painting, there is really not much detail at all, just seemingly random strokes of color. But it all comes together in beautiful harmony.
Also, notice how little detail is used to render the person in the bottom right. Without the rest of the scene, it would probably not resemble anything.
Pissarro has used simplification, in this case, to draw attention away from the shadowed foreground and bring the viewer through the trees into the high-key background. Too much detail in the foreground would probably make the painting seem too active.
2. Use the Palette Knife to Add Texture and Crisp Edges
The palette knife can be a valuable addition to your painting artillery (it is not just for mixing your colors).
I find it best used in combination with paint brushes. However, you can complete entire paintings with just palette knives. This certainly creates a very interesting effect.
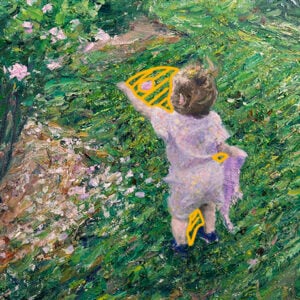
Check out how I painted Magenta Flowers. I used almost only palette knives for this painting.
Some of the best uses for the palette knife in landscape painting I have found are:
- Adding broken texture to rocks
- Creating bold clouds in the sky
- Adding crisp highlights to a bursting sunset
- Breaking up a monotonous seascape with some texture
- Line work, such as fences
- Creating bold texture for trees and shrubs
3. Give the Illusion of Numbers
In landscape painting, you will come across many situations where it is much better to give the illusion of numbers rather than to try and paint every individual object.
For example, if you have a forest of trees, you should not try and paint every individual tree. That would be remarkably complex. Rather, you should paint the general shapes and tones of the forest, then detail just a few trees. This will make it look like a forest without having to paint every single detail.
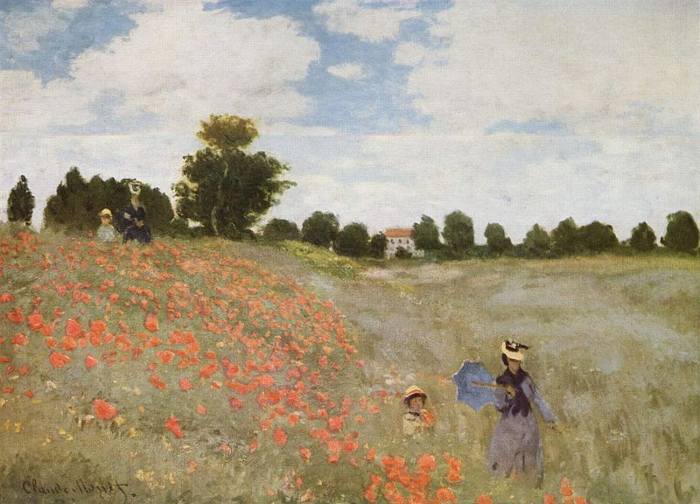
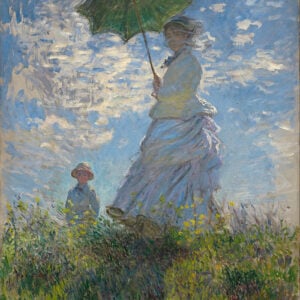
Check out the grass and trees in the above painting by Claude Monet. There is little doubt it is grass and trees. However, there is basically no detailing other than some subtle variances in tones.
4. Subtle Variations With a Limited Palette of Colors
A problem many beginners face when painting landscapes is they do not create enough subtle variance between the colors. The painting will often lack any depth and look very two-dimensional.
Many landscape paintings do not have a complex color composition but rather a simple harmony of greens, blues, and earthy colors.
To ensure your painting does not end up very monotonous, you need to create subtle variances in areas with a narrow range of colors (varying tones, values, temperature, etc). For example, you can break up a large plain of green grass by adding some strokes of yellow ochre.
With that being said, you should not try and create variance just for the sake of it. Try and paint what you see. If there is little variance, then that is fine (though rarely the case in nature).
5. Color Temperature Is Relative, Not Absolute
Color temperature is a scale of how cool or warm a color is. Cool colors include your blues and greens, whilst warm colors include your yellows, oranges, and reds.
However, you should not think of color temperature in absolute terms. Instead, you should think of color temperature as a relative scale compared to the other colors in your painting.
Say, for example, you have a cool blue color and you mix in a touch of orange. This mixed color will be WARMER than a blue without the orange mixed in.
Similarly, you can have an orange with a touch of blue which would be COOLER than an orange straight from the tube.
So even if your painting only has cool colors, you should still be thinking about color temperature (for example, you may want some warmer greens in your tree where there is more light).
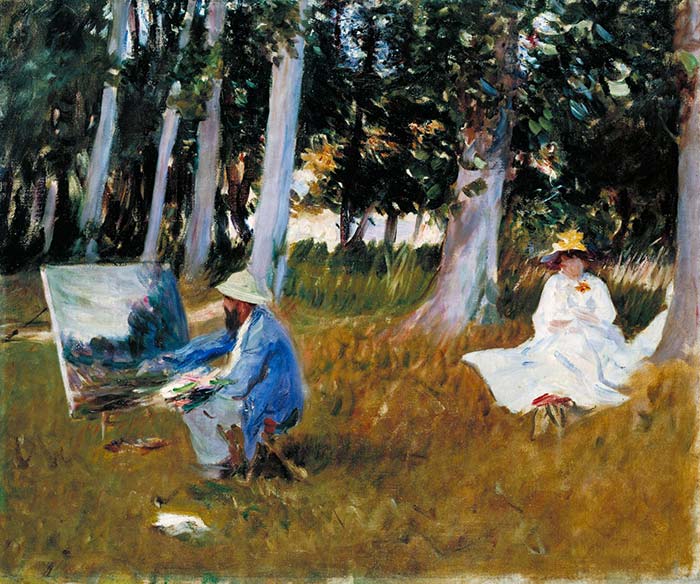
Above is one of my favorite paintings by John Singer Sargent which features Claude Monet (you can read more about it here). Notice how Sargent uses warmer greens to bring attention to the foreground (in contrast to the cooler and darker greens in the top half of the painting).
6. Learn to Embrace Imperfection
Imperfection is just part of nature. Learn to embrace it and try not to make everything perfect.
You do not have to be completely accurate with values, colors, and structure as compared to still-life scenes and portraits. There is a slight amount of leeway in landscape painting (however, this is not an excuse to be sloppy).
Just remember you are not trying to create a perfect rendition of the scene (if you want to do that, then it would be easier to just take a photo).
7. Start Dark and Work up in Value
When you are just starting out, you will find it easier to start with all the darkest values in your painting. From there, you can work up in value toward your highlights.
For oil and acrylic painting, you should not start with the highlights first. This would be very difficult to judge the correct value and the highlights would likely mix with the darks and result in a cloudy effect. However, for watercolor painting, it is common practice to start with the highest values and work down.
8. Incorporate Timed Sketches to Improve Your Judgment
One of the best ways you can improve your landscape painting ability (and painting ability in general) is to incorporate timed or just quick sketches into your training. You could do these plein air or from a photograph – it does not really matter.
I would keep the canvas size very small and paint a simple landscape scene. But try and finish it within a certain period (not more than 20 minutes, for example).
The finished product will not be perfect, but that is not the purpose of it. By painting these fast landscapes, you will learn to paint more instinctively and train your ability to judge values and colors.
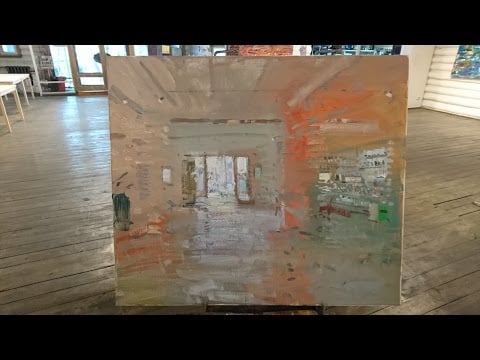
You should check out this demonstration by Russian painter Bato Dugarzhapov, who demonstrates his instinctive painting ability in a very quick session:
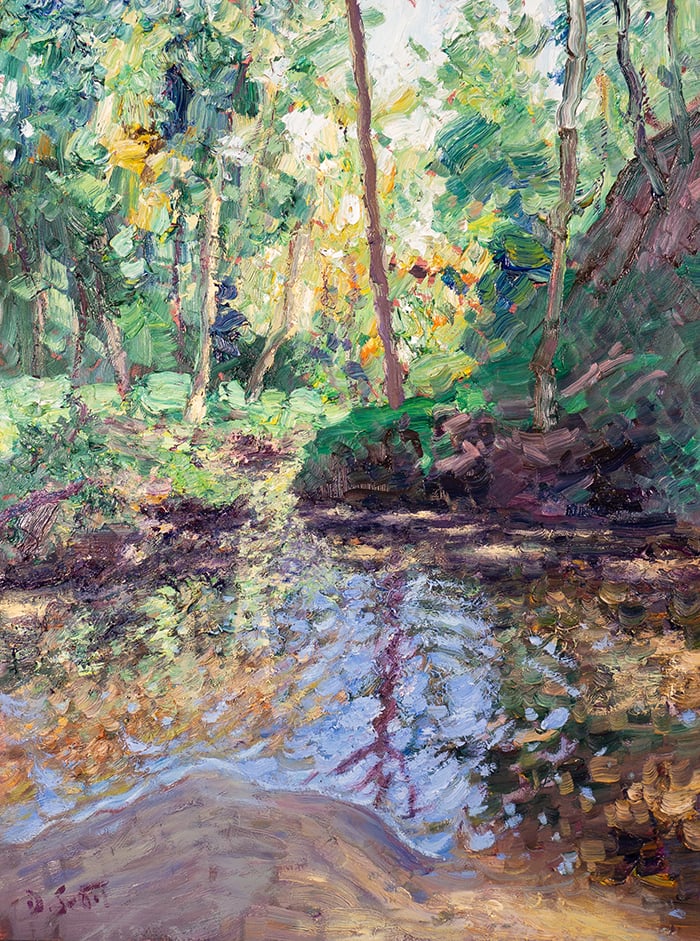
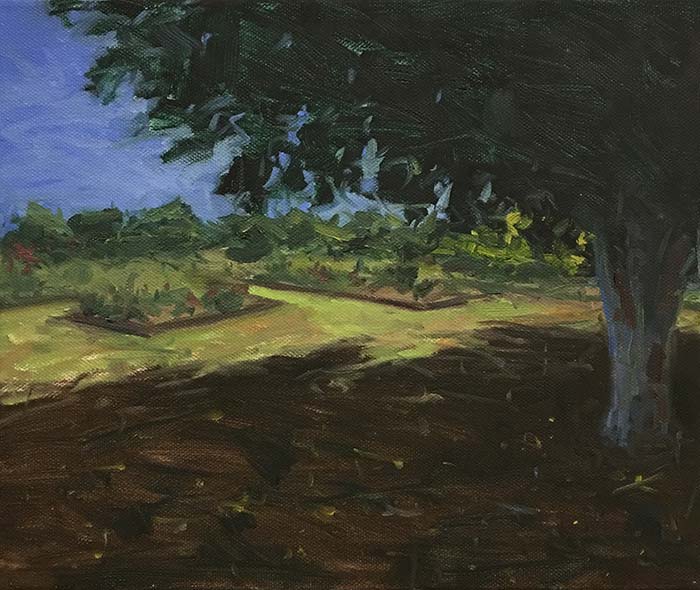
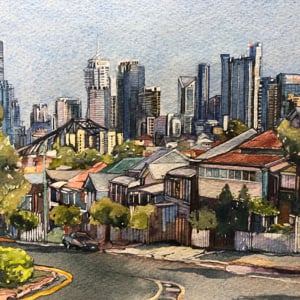
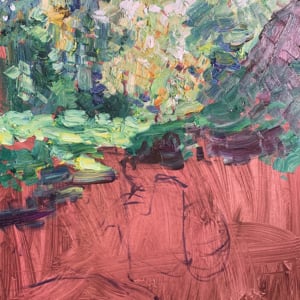
Here is a real quick sketch I did using oils based on a sunny day at New Farm Park in Queensland, Australia. All up, this probably took me about 15 minutes (it is only a small canvas). Sketches like these really help me get a better judgment for values.
9. It Is All Just Shapes, Lines, and Colors
This goes for every type of painting. You should try to think about the elements in your scene not as clouds, trees, water, and grass but rather as various shapes, lines, and colors.
If you focus on painting these shapes, lines, and colors then you should (with proper execution) have a painting that looks like your landscape.
If, instead, you start trying to paint clouds, trees, water, and grass, then you may end up painting from your imagination rather than what is actually there. As a result, your trees may end up slightly more green than they actually are. Or the sky bluer.
10. Go Black and White or Monotone to Increase Your Understanding of Value
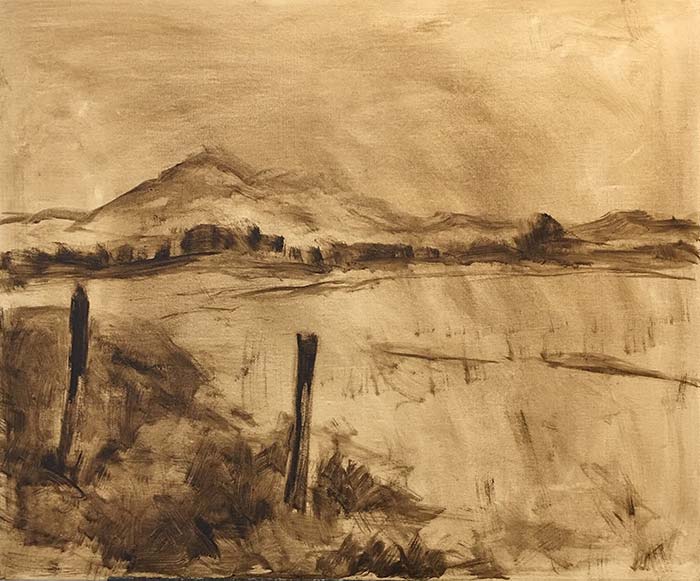
If you are struggling with hitting the right values in your landscape paintings (how light or dark something is), then you may want to consider parting ways with color every now and then and painting the landscape in just black and white or a monotonous color range (i.e different tints and shades of raw umber).
This will help you judge how light or dark the landscape is. You may be surprised how difficult this is.
Value is widely considered one of the most important variables in a painting.
Want to Learn More?
You might be interested in my Painting Academy course. I’ll walk you through the time-tested fundamentals of painting. It’s perfect for absolute beginner to intermediate painters.
Thanks for Reading!
I appreciate you taking the time to read this post and I hope you found it helpful. Feel free to share it with friends.
Happy painting!
Dan Scott

Draw Paint Academy


Another technique I use in landscapes, especially in oils, is to render the paint very thickly in the objects closest to the viewer, ie the foreground. Background, including sky and clouds can be thinned out. This helps to improve the depth of a painting.
Great tip Norm. The palette knife can be great for this.
Thanks Dan,absolutely the tips are really useful .I just started learn how to paint landscape.
No problem at all Winnie!
Dan
Thank you so much. You give me a lot of pleasure. I find you are helping me to get back to enjoy painting after a very difficult time.
That’s great to hear Anne! Always happy to help. Thanks, Dan
Use a view finder to block out the clutter!
Thanks great tip!
Looking forward to all advice and help , been concentrating on portraits.
Thank you for offering these tips for landscape painting. I have been painting off and on for some years but want to get more serious about getting better at it. So, everything I can learn will be very helpful to reach my goal.
No problem at all Dianne 🙂
Dan
Thanks for the Great advice. I also found discovering the negative space helps you stay away from preconceived thoughts on how a painting should look. Throwing in tabs of blue sky on an over painted leafy tree can really add impact!
Thanks Robert!
Dan
Use of a viewfinder is a good idea. I took up landscape painting very recently following retirement. I used to write articles for magazines and newspapers in English speaking countries and frequently submitted photographs for more money. Thus I learned the selective nature of the camera viewfinder. It’s a rectangle (for 35mm) and by moving forward or backward, you change what is included. I now use a piece of stiff black card 36cm X 24cm with a piece cut from the middle 6″ X 4″ and that’s my frame. I use this on my walks (I live in the country) and sketch what I see in pencil. Later, I use this sketch as a plan in my little studio. It took me a long time to decide on landscape. It was a picture of John Constable’s Sunset at Stonehenge that made my mind up. Painting? It all started with a book from a charity shop – £2:50.
Thanks David! Dan
great tips! these are going to help me so much, thank you!
Thanks for sharing this information.
Nothing beats getting back to basics.
Good post Dan.
Thanks, Dave M ( AUSTRALIA)???
Very good teaching. I am doing watercolor. However, your advice is applicable to
painting in general as well and everybody who is interested in art. Thanks for
sharing your knowledge.
YolanYolande Knoerr
Once again very useful information. I talk about you so often my art students think you are my “boyfriend”. Cheers.
I understood the ruleof the Game.ANd how to draw more Effectively.
Great tips, thank you Dan. Is there an English translation of Bato’s demo video by any chance? Would love to understand what he’s saying.
Cheers, Imelda
I always love your posts and your work. I have learned so much! THANKS
thank u it was great learning!
beautiful vedio!
Dear Dan Scoot,
You are my great master! Your instructions are very practical. They remain in my head. I shall share these instructions to those who have interest in painting. I shall tell that I learned from you. Thanks a lot. God created the world; and you bring out all the beauties of God’s creations.
This is a fantastic piece! There is a lot of useful and valuable information in this article that I will save for future reference. Thank you for sharing this fantastic information!
Love all the tips you have been giving on email as well. I had joined your tutorials via email for a couple of years now and slowly I am becoming a better artist. Thanks Dan. PS: how is the new member of the family? Pretty cute I bet.
Love this! I am betting back into painting after a long hiatus (work, children, etc) and I feel encouraged by your advice. Thanks!