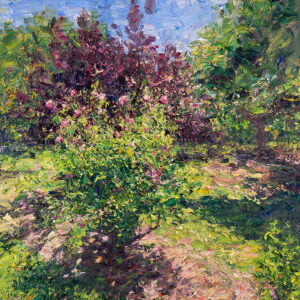
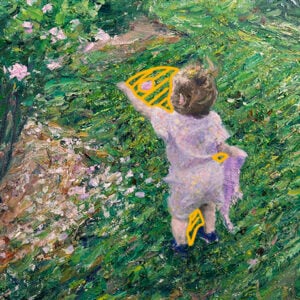
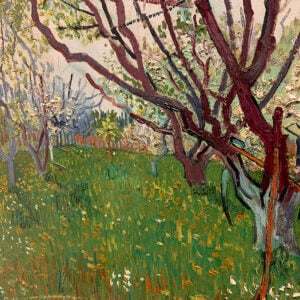
Below is a painting I did earlier this year, Wellington Point. It captures the beach’s glimmering colors and the tree’s dappled light.

Reference Photo and Study
Here’s the reference photo I painted from:


I also painted a small color study in preparation:

Details
- Oil on Ampersand Gessoboard. 18×24 inches.
- Main colors: Ultramarine blue, cobalt blue, cadmium red, alizarin crimson, cadmium orange, cadmium yellow, cadmium yellow deep, viridian green, and titanium white.
Refer to my supplies list for more details on what I use.
Notes
- The painting is a play between the dappled light in the foreground and the glimmering colors in the background.
- There’s a parent and child walking the beach in the corner. This was challenging to paint. It needed to be careful, yet vague. I did a better job of this in the study than in the main piece. Likely due to being more relaxed.
- I experimented with multicolored strokes and thick texture. I drew inspiration from the Russian Impressionists.
- I like how the leaves turned out. Thick paint and varied colors. It’s nice when a plan comes to fruition. (Don’t forget to give yourself a pat on the back for things that go well in your painting. It’s easy to get caught up in mistakes and things to improve.)
- The shadows in the reference photo are underexposed. I compensated for this in the painting by bumping up the saturation and value of the shadows.
Progress Shots
Step 1: Simple color block-in.

Step 2: Draw over the top. Focus mainly on the tree’s light and dark shapes.

Step 3: Build up thicker paint and truer colors.

Step 4: Paint the leaves and work on the dappled light.

Step 5: Add finishing touches and sign (I signed it after photographing the painting).

Additional Resources
Thanks for Reading!
Thanks for taking the time to read this post. I appreciate it! Feel free to share with friends. Want to learn more about landscape painting? Check out my Landscape Painting Masterclass.
Happy painting!
Dan Scott

