
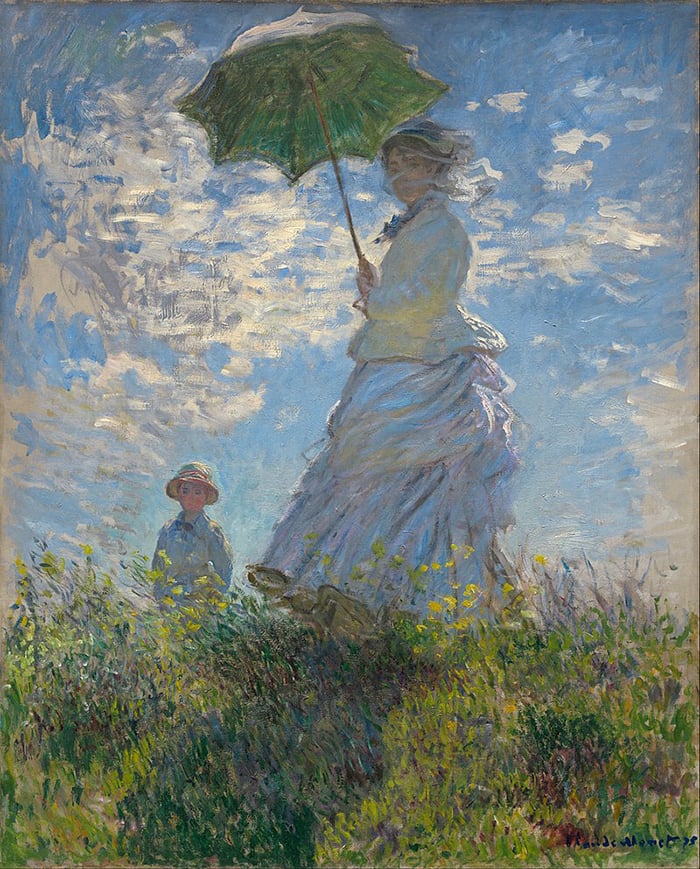
Taking beautiful photographs of your art sometimes feels harder than actually creating it. If you do not know what you are doing, then your photos will frequently turn out too bright, dull, warm, cool or glary (like the photos below of a recent painting).

In this post, I walk you through my process for taking photos of my art in an effort to save you some frustration.
Note: I am a painter, not a photographer. So you might have a better way of doing things. If so, feel free to add to the comments at the end.
- Preparation
- What Camera Do You Need?
- Setting up the Shot
- Camera Settings
- Taking the Photo
- Post-Processing
- Other Tips for Photographing Your Art
- How Do You Photograph Your Art?
- Want to Learn More?
- Thanks for Reading!
I’ll walk you through the entire process using one of my recent paintings. You’ll see how I go from idea all the way through to reflecting on the finished painting.

Preparation
Before you get your camera out, there are some things you need to prepare. Do not overlook this part, otherwise your photo may fail before you even take it.
Light
This is the most important factor for taking beautiful photos of your art. If you do not understand the light, then you will struggle to get a good photo. Simple as that.
With light, you have two options:
- Use artificial (indoor) light; or
- Use natural light (outdoors).
The main benefit of artificial light is it is controllable and consistent. The downside is that natural light is usually of a higher quality (and free to set up).
I have found that natural light produces the best results for me, despite not having full control over it. I usually wait for an overcast day when the light is defused by the clouds.
Equipment Needed
Below is a list of some of the ideal equipment. You do not need all of these things and you can certainly make do without, but they help
- Tripod
- The best camera you have
- Easel (or something to hold your artwork)
- A computer (for post-processing)
- Photoshop (for post-processing) or some alternative software
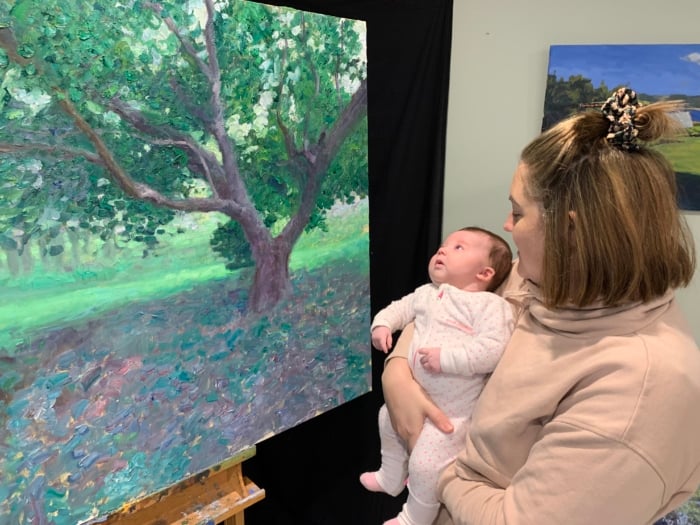
- A trusty assistant like Kobe pictured below (optional)

What Camera Do You Need?
You do not need a top-of-the-range camera to take a great photo of your art. It helps, but you can do a lot with some of the lower-range models.
Just use the best camera you have available to you. Maybe even consider borrowing a camera from friends or family.
If possible, use a DSLR or mirrorless camera, as you will get higher quality photos and they allow you to manually adjust the settings. But if that is not an option, then a phone camera or point-and-shoot camera will be fine.
I personally use an old Panasonic Lumix DSLR (soon to be upgraded) for taking photos of my finished paintings, but I use my phone camera for most progress shots. I have also found that my phone camera can outperform my DSLR camera if I do not set up the settings correctly.
Setting up the Shot
Step 1: Place your painting under appropriate light on an easel (or some other stand). Make sure there is no glare on the painting. I prefer to take photos outside on an overcast day, as this solves the glare issue.
Step 2: Set up your camera on a tripod and align it so that it is perpendicular with the painting. If possible, make sure there is no light coming from behind the camera. Ideally, place the camera in a shaded area (like I have done in the photo below).
Step 3: Make sure the painting is being hit with enough light evenly over the painting. If not, then change the lighting if you can or the position of the painting.
Step 4: Adjust the camera settings (discussed below).

Camera Settings
If you want to get the most out of your camera, you should manually adjust some of the settings. Here are the settings I use:
- Set a 2-second timer on the camera so that there is no movement when the shot is taken.
- Set the ISO on your camera to 100 (or as low as possible).
- Set the camera to Aperture Priority. This will automatically set the shutter speed for you (one less thing to worry about).
- Set the F stop to between F5 to F8.
- Ensure all of the painting is in focus.
- Ensure all of the painting is in the frame and the edges of the painting neatly align with the edges of the photo.
Note: If you are taking photos using your phone camera then you will probably not need to worry about adjusting the settings. Phone cameras are very good at adjusting everything automatically.
Taking the Photo
You should now be ready to take some photos. Don’t just take one photo. Take multiple photos using slightly different settings on the camera. I usually fiddle with the focus, exposure and distance between the camera and the artwork.
Then I will go through all the photos on my computer to see which turned out the best. Sometimes you just don’t really know which settings will produce the best photo as there are so many variables involved.
Also, make sure you shoot Raw if possible rather than Jpeg as this will allow you to make better adjustments on your computer using editing software. If Raw is not an option, then just shoot at the highest quality Jpeg setting.

Post-Processing
I like to keep any post-processing to a minimum as I think it is more important to just take a great photo in the first place. You cannot edit a bad photo into a great photo.
If you shot the photo in a Raw format, then you will have more editing options. Below are screenshots from my


As you can see, I can adjust the color temperature, brightness, saturation and many other important aspects of the photo. This helps me match the photo to what the artwork looks like in real life.
Most of the time, I just change the color temperature slightly. This allows me to make the photo warmer if it was shot under a cool light, or cooler if it was shot under a warm light.
Here are some of the other tasks I do during post-processing:
- Crop all the background from the photo. This part should be easy if you lined up the shot correctly, but if you shot at a bad angle then you may have trouble lining everything up. Most editing programs will have some tool to straighten your image, but this is not reliable.
- Make sure all the parts of the artwork are in focus. You can check this by zooming in on different parts of the artwork.
- Place the painting next to my computer so I can compare the general likeness. Remember, you want your photo to be an accurate representation of your painting – not better, not worse.
- Save the Raw file and a Jpeg file of the highest quality on my computer. Then, I will change the size of the photo and save it for the web (this is a smaller image which loads faster on a website).
Other Tips for Photographing Your Art
Here are some other tips for taking beautiful photos of your art:
- Try not to get frustrated and think logically. If the photo did not work, narrow down on what went wrong, fix it, and try again.
- Remember that taking a great photo of your art is incredibly important, so it is worth putting in effort to get it right. Photos of your paintings will often be the first exposure people have to your art.
- If you are selling art, you might want to consider just hiring a professional to take photos of your paintings in bulk.
- The purpose of the photo will help determine what quality of photo you need. If you are just taking photos for social media, then your phone camera will be fine. But if you want to use the photo for prints, then you will need a high-quality photo.
How Do You Photograph Your Art?
This is just my way of doing things and I am sure there are many improvements I could make. I am not a photographer after all.
What is your process for taking photos of your art? Feel free to share in the comments.
Want to Learn More?
You might be interested in my Painting Academy course. I’ll walk you through the time-tested fundamentals of painting. It’s perfect for absolute beginner to intermediate painters.
Thanks for Reading!
I appreciate you taking the time to read this post and I hope you found it helpful. Feel free to share it with friends.
Happy painting!
Dan Scott

Draw Paint Academy


Thank you for sharing your knowledge and wisdom with new and upcommers like me who want so badly to get started selling their Artwork, but not sure where to start. God Bless you and yours, Namaste.
I have been thinking about making prints of my paintings, but not sure how to. I loved your detailed instructions and plan to move forward. I recently put 2 oil paintings in a gallery for sale and family members are saying……don’t sell that one!!! This would solve a lot of problems. I’ll always be a fan of yours!!
One important thing I found is make sure your camera and tripod and level and that your painting is leveled so not to skew the image and an also measure that the camera lens and the center of the painting are at the exact same height.
Thank you for this especially the bit about what settings to have the camera on.
I also photograph mine in the shade and with north facing light, and I place the paintings on the ground.
Thanks for informative and helpful advice. I, enthusiastically read your advice on photographing the art work as well however, I am uncomfortable when it comes to Photoshopping. Would then what one is showing on the website or wherever be different from the actual work?
Dan, I use a 42.5 mm focal length(85 mm 35 mm equivalent) when I photograph my paintings. This is important for larger works. But like you, I’m not a photographic expert.
Hi Peter. Thanks for sharing. Does that help get more of the painting in focus? Dan
Just that if you use a wide angle(28 mm), as used for landscapes, you would get some distortion at the sides of the painting. Use focal length 50 mm or greater(35 mm equivalent).
In the 4/3 world you multiply the actual focal length by 2 to convert to 35 mm equivalent.
Focus is dictated by aperture defining depth of field. f5 to f8 is fine. f8 is a smaller aperture but will have larger depth of field.
Interesting thanks for clearing that up Peter!
Dan, I really appreciate your articles and this one definitely gives me lots to consider for my next batch of photos, especially because I’ve been meaning to refresh and replace some.
One thing I’ve found helpful is to photograph my paintings ahead of varnishing. That way there is one less cause of glare to worry about.
Thanks again for sharing.
Glad to help Kelly and great tip regarding the varnishing. Thanks! Dan
Thanks Dan. I struggle with my PC screen settings. The photographs taken looks different on my laptop than on the PC or phone. How do I fix this?
Hi Claudette. I am not a computer expert but I would say that your computer screen is set in an unusual setting. I would see if you could change the settings so that all the colors appear more “normal”. Or, I would just use the computer which is better calibrated to view photos of your paintings. Kind regards, Dan
Thanks so much for this post.
No problem Layne! Dan
There is a good demo on the web site “drawmixpaint” that is similar to your fence photo. It works great with my phone camera
Thanks Jim yes that is a great website. Dan
This is great Dan, particularly how to use a DSLR camera, which I have, a really nice Canon, but reading the whole big manual is just… too much for wanting to know how to set it up for art pics… so I never use it and rely on my smartphone quick photos and its editing software which I only use for cropping as the pre-programmed editing is more meant for fun not photo editing.
Anyway, I don’t have as nice assistant as Kobe, though. 🙂
Thanks Jola. To be honest, Kobe isn’t all that helpful…. But he thinks he is. Dan
Great advice! A friend, whose is a professional photographer, shoots the opposite way with the painting in the shadow around 10 am or 4 pm on average. He has also has put it on the floor in disfused daylight. I’m not steady enough myself! I’ve shot using a bar that my camera is attached to level to the floor. Doing this is in cool light, but as you said, the temperature can be adjusted with Photoshop.
Interesting thanks Jean. I will have to try with the painting in shadow. Thanks!
Hello Dan, your photographing artwork article is very helpful. Once again thank you – much appreciated.
My pleasure Bruce. Dan
Very informative, thank you
Thanks Hetta