
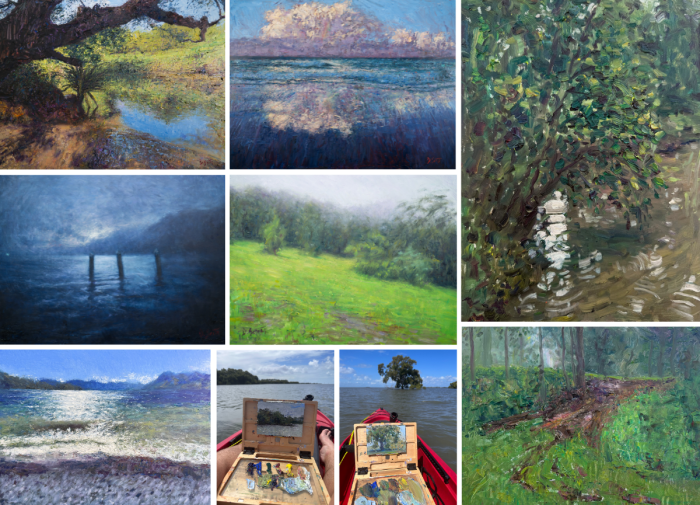
Hi everyone! Here is another painting tutorial where I will show you how to paint this landscape scene with the river running through the trees.
The painting is based on a photo from New Zealand (I can’t help myself but do another New Zealand painting – I just have too many beautiful photos).
I enjoyed painting this scene. To me it has a pleasing composition and color harmony. There is also an interesting notan design in the scene (the balance between lights and darks).
- Materials Used
- Step 1 – Stain and Sketch
- Step 2 – Block in the Sky
- Step 3 – Block in the Rest of the Painting
- Step 4 – Simplification in Action
- Step 5 – Brighten the Sky Add Texture Using a Palette Knife
- Step 6 – Start Highlighting the Foreground
- Step 7 – Fix Edges, Create Harmony and Finish the Painting
- Want to Learn More?
- Thanks for Reading!

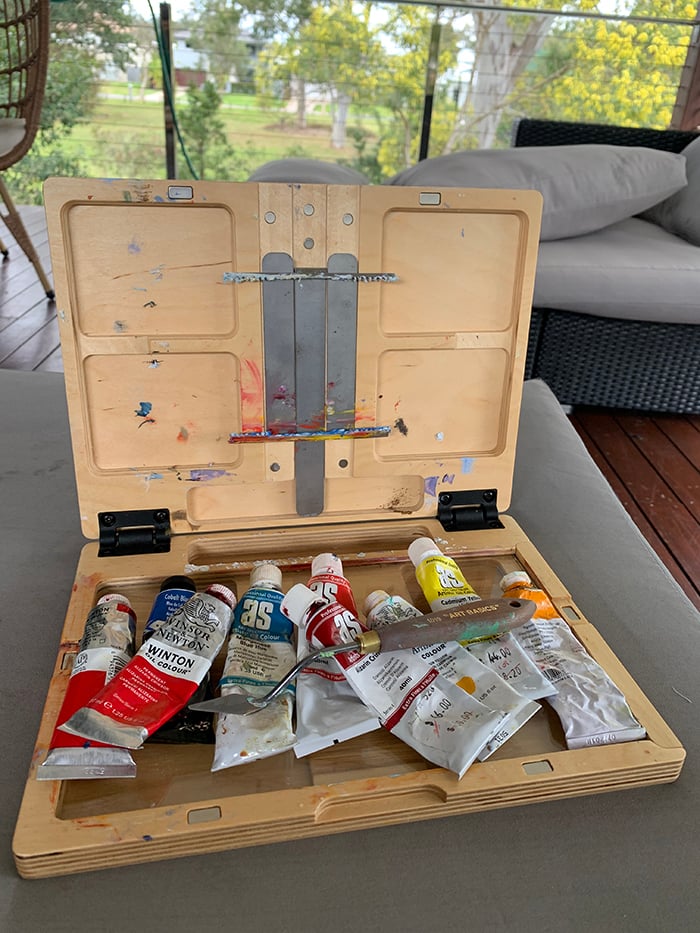
Materials Used
Here are the materials used (I have provided affiliate links in case you wish to make any purchases):
- Medium Sized Filbert Paint Brush
- Medium Sized Flat Paint Brush
- Medium Sized Round Brush
- Palette Knife
- Toned Disposable Palette
- Linseed Oil
- Odorless Solvent
- Alizarin Crimson
- Yellow Ochre
- Cardinal Yellow
- French Ultra Marine Blue
- Viridian Green
- Cardinal Orange
- Raw Umber
- Titanium White
Step 1 – Stain and Sketch
I start this painting like I start many others. I lay down a light stain using raw umber thinned to a very watery consistency.
I then sketch out the general composition. There is not much detail here but just enough to give me an idea of how to navigate the painting.

Step 2 – Block in the Sky
I start by painting in the sky. I use a very large brush as I do not want to get bogged down in any detail just yet. I also paint slightly darker than what is in the reference, with the intention of going back and lightening things up later on (it is much easier to lighten a color than it is to darken it).


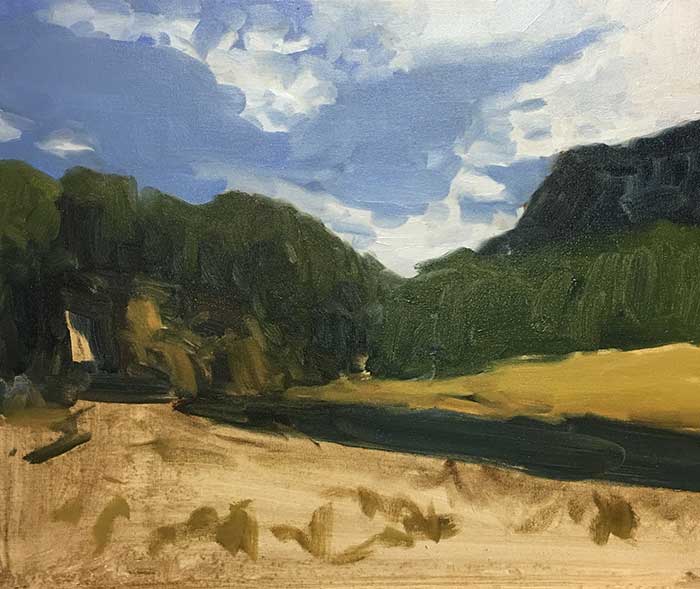
Step 3 – Block in the Rest of the Painting
I then move to block in the rest of the painting.
The main thing I am focusing on here is getting the right color harmony of the scene. Overall the painting is far too dark, but this is intentional. This is just the base which I will go back over and refine in later stages.

Step 4 – Simplification in Action
This is an important stage.
I realized in the previous stage I started to add too much detail. I was getting caught up in the smaller aspects of the painting rather than sticking to the more important elements.
So what do I do?
I grab a cloth and wipe down the overworked area with no hesitation. Look how much cleaner it looks after I wiped it down.
I have no issue with taking this kind of drastic steps during a painting. I would much rather take a risk and go for that slight chance of a great painting than settle for an average painting out of fear.

Step 5 – Brighten the Sky Add Texture Using a Palette Knife
Now I start to lighten up the painting. I start with the sky and pull out my palette knife.
The palette knife allows me to thickly apply paint in an impasto fashion. I want the sky to really pop.

Step 6 – Start Highlighting the Foreground
I must now balance out the rest of the painting by adding highlights to the foreground. I start with the yellowish area on our right.
I use a very large brush for this and do not completely mix my colors so that there are subtle streaks of various colors in my strokes. This creates an interesting effect in the painting.

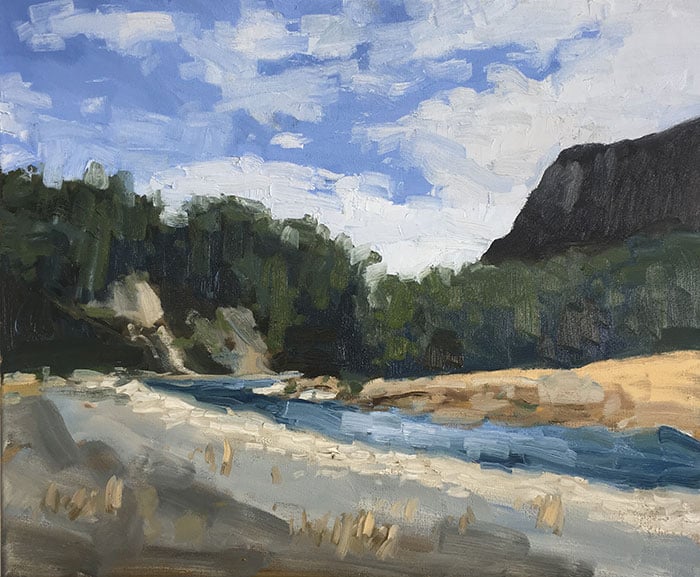
Step 7 – Fix Edges, Create Harmony and Finish the Painting
I continue to work my way around the painting and try to balance all the elements as best I can. At no stage do I use any very small brushes.
When I needed to add more particular details, I use the side edge of my medium filbert brush.
You will notice I use shorter and more vibrant strokes leading up to the turn in the river, where I want to attract the viewer.
Want to Learn More?
You might be interested in my Painting Academy course. I’ll walk you through the time-tested fundamentals of painting. It’s perfect for absolute beginner to intermediate painters.
Thanks for Reading!
I appreciate you taking the time to read this post and I hope you found it helpful. Feel free to share it with friends.
Happy painting!
Dan Scott

Draw Paint Academy


Lovely work Dan. Love seeing the progress shots.
Thanks Margie! Appreciate it 🙂
Dan
Hi Dan. Thank you for your course and tuition.
I have loads of oil paints but don’t use Windsor & Newton. Please can you tell me the nearest colour or mix to achieve your Cardinal Yellow? I want to achieve the harmony and correct values.
Thanks
Fran.
Hi Francetta! Glad to help 🙂
To be honest I don’t use the cardinal yellow all the much. I mostly use the yellow ochre (which is a kind of dirty yellow). Cardinal yellow is a very bright and clean yellow, so anything similar would be fine. Let me know what yellows you have an I can tell you which would be suitable.
Thanks!
Dan
It’s so interesting to get a step by step tutorial of what and how you create. This will be so helpful for my next painting. Thanks again,Dan, for all your help.
Glad you enjoyed it Linda!
Dan