
When you sell a painting, it is important that you are able to get it to the buyer in a safe condition. So much effort goes into creating a painting that it would be a shame for it to be damaged in transit.
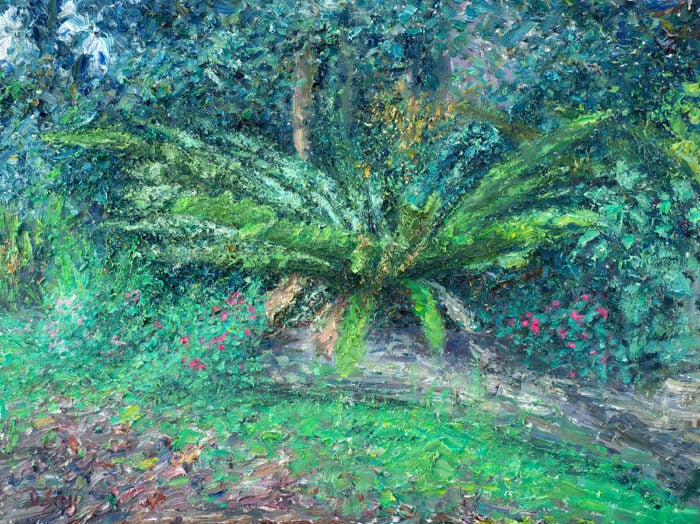
I recently had to say goodbye to one of my paintings and I thought I would use this as an opportunity to run through how I safely package my paintings once they have sold. My partner actually claimed this painting, but I forgot I had it listed for sale on a website. She was not happy when it sold!
Note: This is just my process and you may do things differently. If so, feel free to let me know in the comments!
- Step 1. Make Sure the Painting Is Actually Finished
- Step 2. Arrange Postal Insurance if Needed
- Step 3. Supplies Required
- Step 4. Baking Paper to Protect the Surface
- Step 5. Bubble Wrap Around the Painting
- Step 6. Place the Painting in the Box
- Step 7. Make the Painting Secure
- Step 8. Insert a Letter of Thanks and Certificate of Authenticity
- Step 9. Tape the Box Shut
- Step 10. Mark the Box as “Fragile”
- Step 11. Make Sure the Postage Label Is Correct
- Step 12. Say Goodbye!
- Summary
- Additional Readings
- Want to Learn More?
- Thanks for Reading!
I’ll walk you through the entire process using one of my recent paintings. You’ll see how I go from idea all the way through to reflecting on the finished painting.

Step 1. Make Sure the Painting Is Actually Finished
The first thing I do is make sure the painting is actually finished. This means:
- The edges are nice and clean
- The keys (those little wooden parts which come with stretched canvas) are secured in the back of the canvas.
- I have signed the painting.
- Details of the painting are written on the back (shown below).

Below are the keys I referred to. The purpose of keys is to keep the canvas tight on the frame.

I wrote more about the tasks I do before I sell a painting in this post.
Step 2. Arrange Postal Insurance if Needed
I sold my painting through Blue Thumb and they actually arrange all the insurance. But it may be something which you need to consider getting when you sell your painting.
This is more important for those of you selling at a higher price point. If you are selling smaller and less expensive paintings then insurance is more optional.
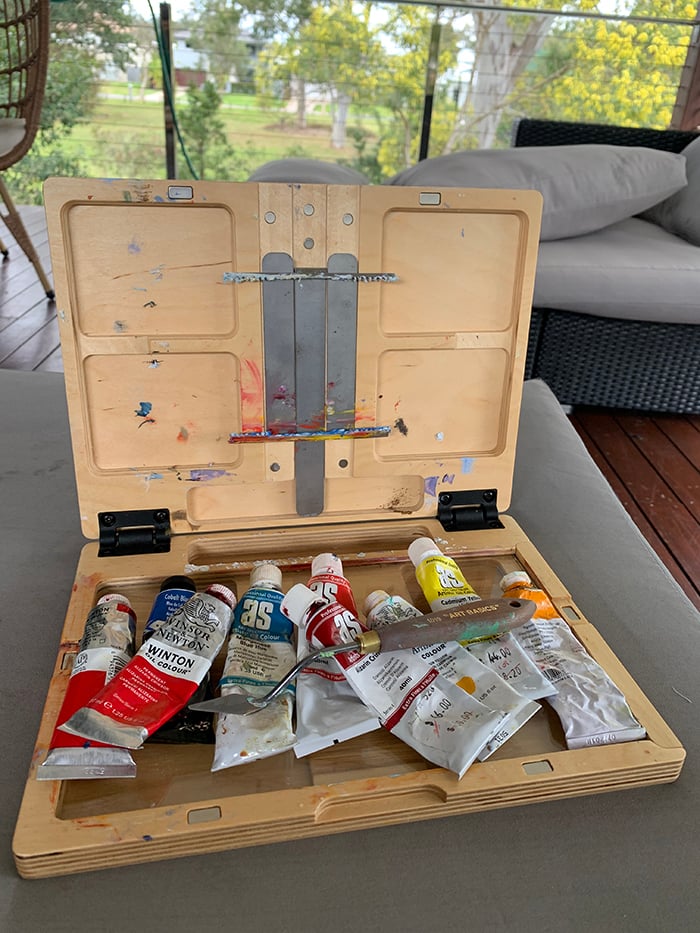
Step 3. Supplies Required

Here are the supplies which I use for safely packaging my paintings:
- Tape (the strong stuff)
- Scissors
- A sturdy box which is close to the dimensions of your painting.
- Baking paper (an oily paper which plays well with paintings.
- Bubble wrap.
- Some kind of void filler for the box.
- Permanent marker (for marking “Fragile” on the box). Alternatively, you can purchase “Fragile” labels.
These are not the only supplies you can use. In most cases you can just make do with what you have available to you. Be creative.
Step 4. Baking Paper to Protect the Surface

Once I have made sure I am posting the right painting and it is all ready to go, then I start preparing it to go in the box. I first place a layer of baking paper over the top of the painting. This helps protect the surface of the painting. I do not want my painting to be directly in contact with bubble wrap. You could also use butcher paper or something similar.
Step 5. Bubble Wrap Around the Painting

With the baking paper in place, I apply a few layers of bubble wrap around the painting. I am very generous with how much bubble wrap I use, as this is one of the main protective layers (and bubble wrap is cheap).
This part may get a bit fiddly as you need to make sure the baking paper stays on top of the surface of the painting whilst you apply the bubble wrap. As this is a larger painting, I used tape to connect both sheets of baking paper to make it easier to control. For smaller paintings, you only need a single sheet of baking paper.
Once you have bubble wrapped the painting, then tape the edges and make sure it is all secure. The bubble wrap should be fairly tight on the painting.
Then I wrap some thin tape around the whole painting a few times to secure everything together.
Step 6. Place the Painting in the Box

You want the painting to be very snug in the box. You certainly do not want the painting to be bouncing around inside the box during transit.
In this case, I had some spare sheets of cardboard which helped me take up some of the void space in the box. I then placed the bubble wrapped painting carefully in the box.
Step 7. Make the Painting Secure

With the painting in the box, you need to make sure it is extremely secure by filling any space with some kind of filler. In this case, I used some of the leftover bubble wrap, but there was not much void space as the box dimensions closely matched that of the painting.
You could also use plastic bags, newspaper, or some other void filler which you can buy from your local post office.
Step 8. Insert a Letter of Thanks and Certificate of Authenticity
I like to write a personal letter to anyone who purchases a painting. I think it adds a nice touch. You may want to also include a Certificate of Authenticity.
Step 9. Tape the Box Shut
After making sure everything is secure inside the box (give it a bit of a shake to make sure there is hardly any movement) then it is time to tape the edges shut. Use heavy-duty tape for this.
Step 10. Mark the Box as “Fragile”
Take your permanent marker and mark “Fragile” in large writing on each side of the box. This will just prompt people to be gentle with the box, but do not assume they will be. It is important that your painting is secure enough to handle some roughing up during transit, as people may not see the “Fragile” label.

Step 11. Make Sure the Postage Label Is Correct
I like to do a final check that I am sending the painting to the right person and the address is correct. You can put the address into Google to make sure it actually exists and that there are no spelling mistakes.
Step 12. Say Goodbye!

It is time to say goodbye to your painting! Give yourself a pat on the back as it is not easy to sell artwork. For most people, buying art is a significant and meaningful investment.
Summary
I hope you have a better idea now about how you can safely package your painting once it has sold. Also, I will reiterate that this is just my process. Part of my process involves making do with what I have around me, so it changes slightly from time to time.
How you get the painting to the buyer does not matter as long as:
- The painting is safe and secure
- You do not compromise the surface of the painting
- The painting actually makes it to the buyer (make sure you have the address right and have insurance in place for worst-case scenarios)
If you do things differently, feel free to share your process in the comments.
Additional Readings
How To Make Money As An Artist
5 Reasons Why Your Art Is Not Selling
What To Do Before You Sell Your Painting
11 Things To Do After You Finish A Painting
Want to Learn More?
You might be interested in my Painting Academy course. I’ll walk you through the time-tested fundamentals of painting. It’s perfect for absolute beginner to intermediate painters.
Thanks for Reading!
I appreciate you taking the time to read this post and I hope you found it helpful. Feel free to share it with friends.
Happy painting!
Dan Scott

Draw Paint Academy

Does the parchment/wax/baking paper not stick to the painting? Or damage it in anyway? Also, would you pack it with the waxed side of the paper against the surface of he painting?
Hi Tao. I wouldn’t post a painting unless it was completely dry! I don’t recall either side making a difference but to be on the safe side, you could use Butchers Paper. I have used this a few times and it might be a lot better to use than baking paper. As time goes on, a try different methods to see what works better. Hope that helps. Dan
Parchment paper and wax paper are not exactly the same thing for cooking. But for packing oil painting I don’t think it matters because they are both not sticky. For baking you would want to use parchment and I am not sure why but I think because high temperature will melt the wax. So waxed paper is more for wrapping stuff, I think. Although, I don’t think that this thin layer of wax would kill a person if ingested, neither it would significantly change the taste so maybe it is a matter of a personal preference.
My three cents worth.
Thanks for that Jola!
Baking paper? Is this wax or parchment paper?
Hi Claudia, yes same thing I think.
Dan
Thanks! This was practical and very useful. I so appreciate you doing this.
Thanks Sarah, it is my pleasure!
Dan
Thank you Dan for sharing the baking paper or waxed paper tip.
I couldn’t help but chuckle reading about the reaction of your partner. I have heard it before from another artist that said that family members are sometimes not happy about some sales.
A while ago I wanted to honor my nieces visit and let her choose one of my paintings not realizing that my son might have something to say about it. Till this day he reminds me that I didn’t consult him and gave away his favorite.
Fun!
Happy painting!
Thanks Jola
Yes I will need to be more careful with what paintings I list for sale!
Dan
Hi Dan, how are you?
I really enjoyed your explanation.
This week I made a sale of a painting on paper, I got a little lost because it was my first sale through an art platform.
Well, I always put the paintings in a clear plastic, with a thinner sheet of paper between them to prevent stains. Close with adhesive tape.
I write in a small paper a message to the person who bought it, thanking her and a card with my email, facebook page.
Put the paintings between two sheets of cardboard and fasten the sides with adhesive tape.
Finally, I put everything inside the brown paper envelope and write down the addresses.
So just go to the post office.
I’m always afraid that the package will get spoiled along the way, but that never happened.
I think it’s a good idea to write ‘fragile’ on the packaging, I’ll do it next time.
How did not i think of this before?
One question: How did you sell your art on BlueThumb? It was a good experience?
Do you think it would be a good idea to sell on foreign platforms? (I am Brazilian)
Thank you!
Hi Maria, I’m great thanks!
Thanks for sharing your process.
I had a great experience with Blue Thumb but I would only recommend it for Australians. As for listing at on foreign platforms, it might be a good idea but you would need to look into postage and insurance as they may be too costly.
Thanks
Dan