(My “On the Easel” posts give you a behind-the-scenes look at what I am working on, what went well, what went wrong, and things I learn.)
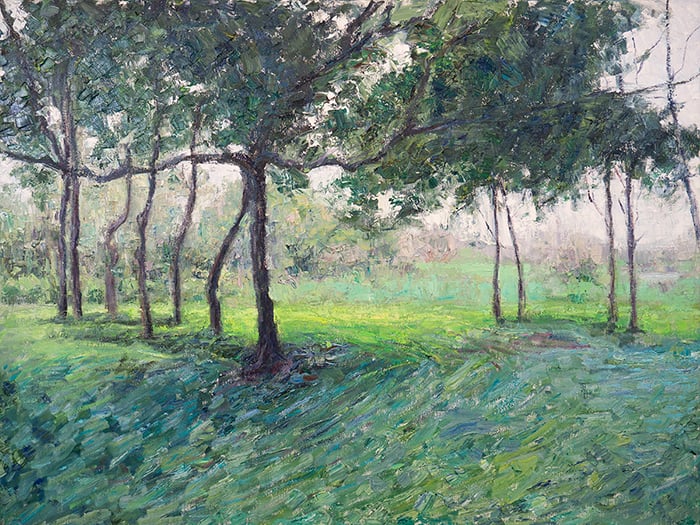
Below is Caloundra, Shimmering Light. It depicts a high-contrast scene, with the shadowed foreground framing the shimmering Caloundra estuary.

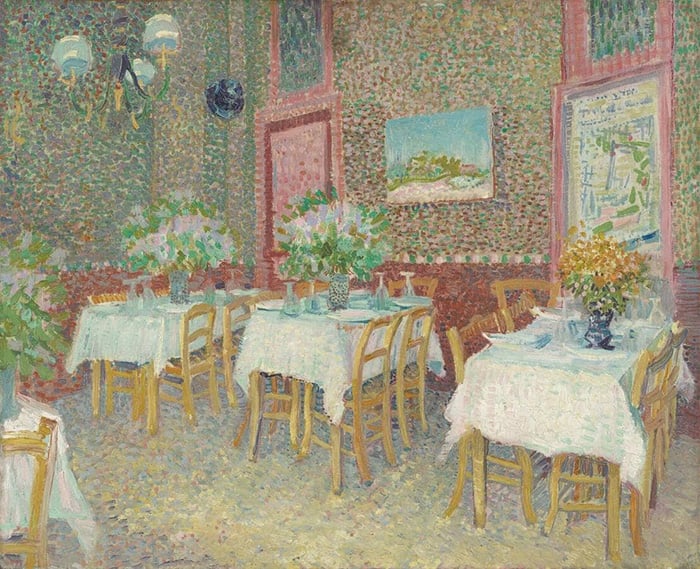
Reference Photo
Here’s the reference photo I painted from:

Feel free to try and paint it yourself. If you do, let me know how it turns out.
Details
- Oil on Ampersand Gessoboard. 18 x 24 inches.
- Main colors: Ultramarine blue, cobalt blue, cadmium red, alizarin crimson, cadmium yellow, cadmium yellow deep, cadmium yellow light, viridian green, transparent brown oxide, spectrum violet, and titanium white.
Refer to my supplies list for more details on what I use.
Notes
- I painted this almost entirely with a single palette knife. This is probably poor technique, but I sometimes get so caught up in a painting that I don’t even change the brush or knife. Instead, I vary my strokes in terms of pressure, direction, texture, length, etc.
- I relied on multicolored strokes to convey the illusion of detail.
- The individual colors are much stronger than I would typically use for landscape painting. But they don’t appear as strong because they are broken up.
- A key idea of the painting is the contrast between the shadowed foreground and the glimmering background. Because these areas are so distinct, I painted them in separate sessions.
- I started with the darks and finished with the brightest highlights on the water.
Progress Shots
Step 1: Work on the blues, greens, and browns at the edges of the painting. I worked in a direct manner, rather than staining the canvas and blocking in the colors.

Step 2: Map out the light areas, ignoring any finer details and highlights.

Step 3: Refine the darks and ensure there are no gaps between the strokes.


Step 4: Refine the lights, focusing on the subtle color transitions and textures.

Step 5: Add the shimmering highlights on the water. This is one of the few times I used a brush.

Step 6. Finishing touches, sign, and photograph the painting.

Additional Resources
Thanks for Reading!
Thanks for taking the time to read this post. I appreciate it! Feel free to share with friends. If you want more painting tips, check out my Painting Academy course.
Happy painting!

Dan Scott
Draw Paint Academy