Welcome to another quick oil painting tutorial. This is an older painting I did back around 2015 based on Kingfisher Bay, Fraser Island.
I painted this in oils but the process would be much the same for acrylics.
The scene involves silhouettes of the long jetty and boats with the vibrant sunset in the background. The light glimmers accross the water, which contrasts nicely against the darker areas.
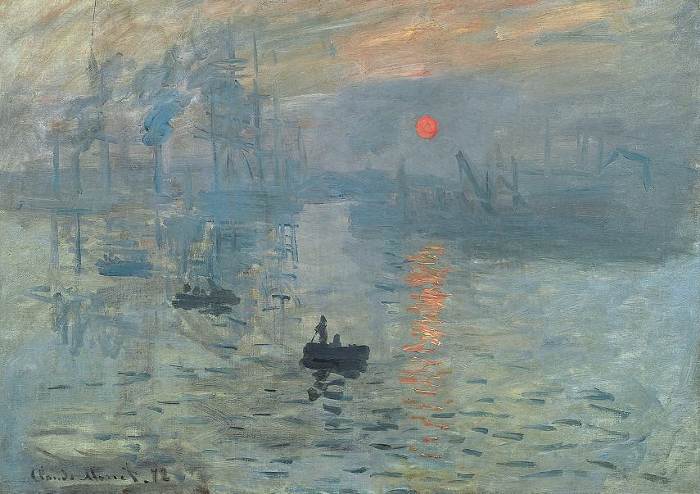
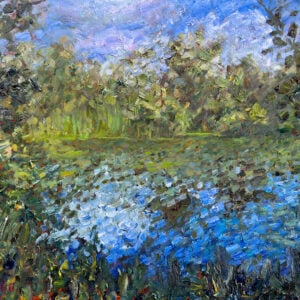
For this painting, I drew inspiration from Monet’s painting:

- Step 1 – Block in the General Shapes and Colors
- Step 2 – Refine the Shapes and Darken Areas
- Step 3 – Start Refining and Introducing More Color
- Step 4 – Finishing Details
- Thanks for Reading!
Step 1 – Block in the General Shapes and Colors
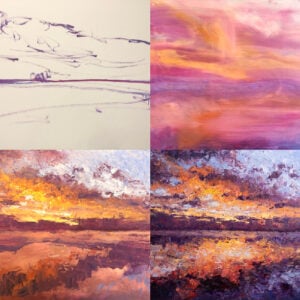
In step 1 I start to build the foundation of the painting.
This involves blocking in the most dominant shapes and colors of the scene. I am not being particular with any specific details but I am careful to capture all the shapes in the right sizes and places.
Mistakes in this stage can cause issues later in the painting if left unchanged. All my brushwork seems very broad and general, but do not confuse this with being sloppy.
All I am trying to capture in this stage is the general color harmony and the very basic structure of the scene.

Step 2 – Refine the Shapes and Darken Areas
Once the general structure of the painting is in place I start to make some adjustments and darken areas up.
I add some detail to the jetty and boats. It is important that I make these subjects dark enough as they will be the darkest areas in the scene.
The reason I want to darken the painting up so much is that I will use this dark base to really emphasize the bright sunset in the background.
There are two ways you could emphasize the sunset:
- Add more white / yellow / orange to the sunset (make it more vibrant); and / or
- Darken all the areas surrounding the sunset.
So I want to use a combination of both techniques to really add power to the sunset, which was the reason I painted this scene in the first place.
In general with oil and acrylic painting, you should be painting from dark to light. So I need to make sure my painting is dark enough before I start adding more details in the next few stages.

Step 3 – Start Refining and Introducing More Color
After creating a nice dark base for my painting, I start to introduce more color and light to the scene. I use a combination of Naples Yellow and Cadmium Red.
I am using bold strokes with a very loaded brush. This creates a variance in texture which contrasts nicely against the darker and softer areas.

Step 4 – Finishing Details
This stage is basically just taking what I have and refining it. Fixing any edges, colors and shapes as I see necessary.
There is no fixed process here. I basically just jump around the painting making small adjustments.
I will be taking many steps back from the painting and viewing it from a distance as a whole. I am not trying to make every element in the painting perfectly accurate, but rather I am trying to make it all work together in harmony.
I rarely need to look at the reference by this stage. The painting has taken on its own personality and I use it to draw inspiration.

Summary
Thanks for joining me on this simple oil painting tutorial. Please share if you enjoyed it.
You may also enjoy this Noosa Painting Tutorial.
Let me know what you think in the comment section below.
Thanks for Reading!
Thanks for taking the time to read this post. I appreciate it! Feel free to share with friends. If you want more painting tips, check out my Painting Academy course.
Happy painting!
Dan Scott
Draw Paint Academy

This was very engaging
Thanks Sayanti!
Dan
Thank you for sharing your knowledge
It’s my pleasure Maro. Thanks! Dan