(My “On the Easel” posts give you a behind-the-scenes look at what I am working on, what went well, what went wrong, and things I learn.)
Below is Gold Coast, Sand Dune. It’s a simple beach scene, with glaring sun and an interesting play between light and shadow.

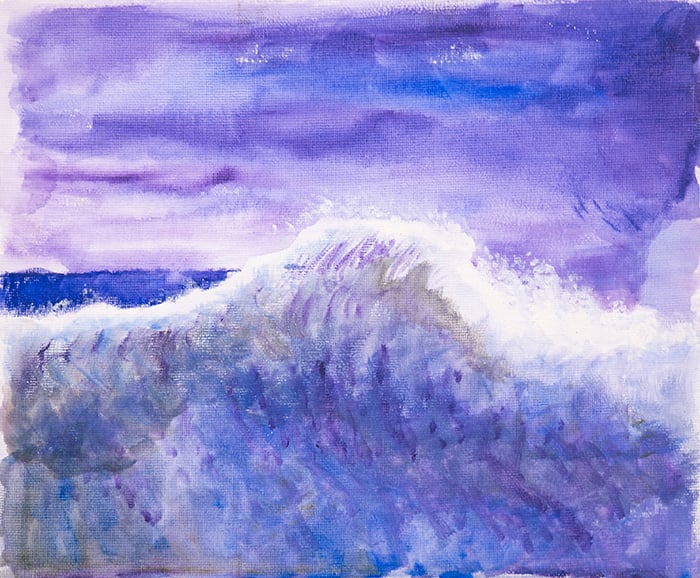
Reference Photo and Study
Here’s the reference photo I painted from:

Details
- Oil on Ampersand Gessoboard. 18 x 24 inches.
- Main colors: Ultramarine blue, cobalt blue, cadmium red, alizarin crimson, cadmium yellow, cadmium yellow deep, viridian green, transparent brown oxide, and titanium white.
Refer to my supplies list for more details on what I use.
Notes
- Color temperature is the key feature of this painting. Notice the striking contrast between the cool blues and purples against the tinted yellows and oranges. See my previous newsletter for more details on this.
- The other key feature is texture, particularly the greenery at the top of the sand dune. This conveys a sense of depth and activity.
- I used visible brushwork to inject life into an otherwise bland sky.
- A subtle change in color temperature and value suggests wetness in the sand. This is a tricky effect to capture.
- There are a few vague figures in the background, painted with nothing more than dabs of color.
- There is a subtle value gradation along the horizon line. Notice how it gets lighter towards the left-hand side. This suggests the sun is around that side.
- The tree cluster on the left is important for value contrast. It anchors the painting and makes the surrounding colors appear lighter by contrast.
Progress Shots
Step 1: Stain the canvas with transparent oxide brown.
")
Step 2: Simple sketch, focusing on major shapes and lines.
")
Step 3: Paint the sky. Notice how the stained surface makes it easier to “see” the light colors.
")
Step 4: Work down into the sea.
")
Step 5: Continue into the wet sand. Notice how I’m pushing from one area into the next. This helps with fluidity.
")
Step 6: Add the darkest darks.
")
Step 7: Start working on the shadows and greens.
")
Step 8: Block in the greens.
")
Step 9: Add texture to the greens.
")
Step 10: Refine and detail.
")
Step 11. Sign and photograph the finished painting.
Additional Resources
Thanks for Reading!
Thanks for taking the time to read this post. I appreciate it! Feel free to share with friends. If you want more painting tips, check out my Painting Academy course.
Happy painting!

Dan Scott
Draw Paint Academy