(My “On the Easel” posts give you a behind-the-scenes look at what I am working on, what went well, what went wrong, and things I learn.)
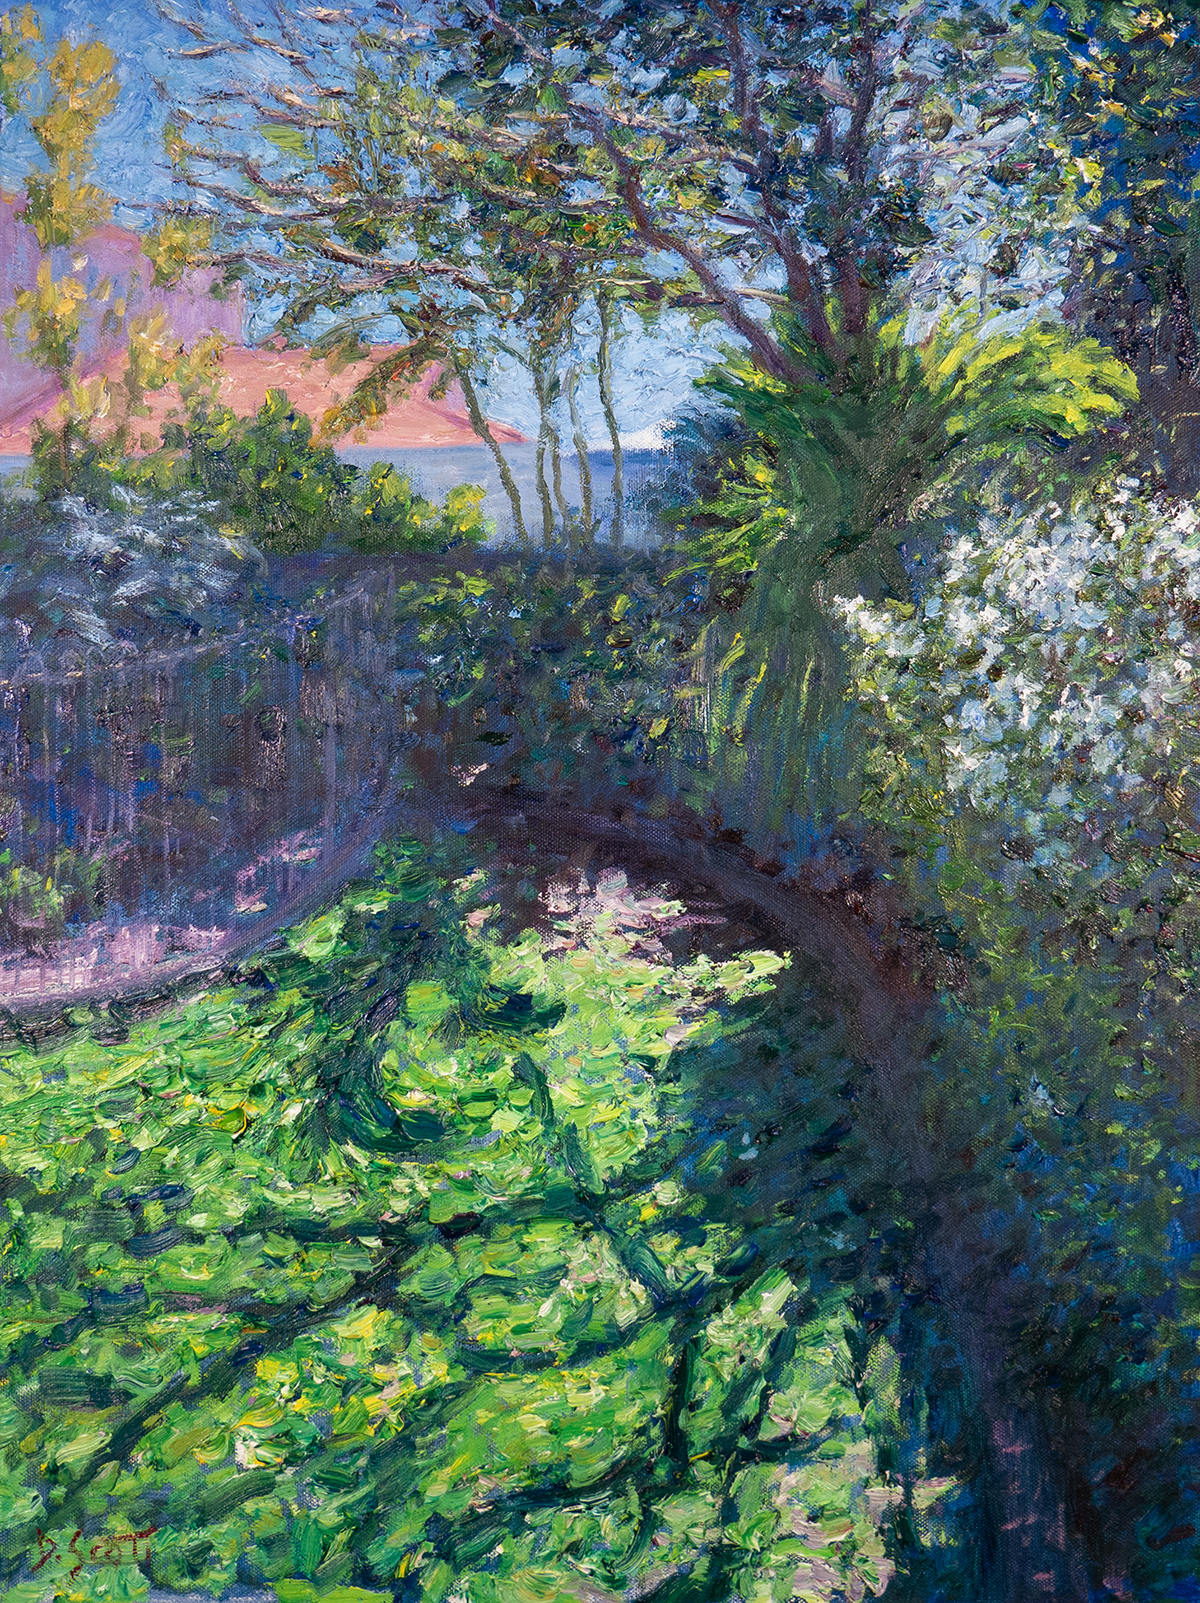
Let’s take a look at how I painted Parent’s Garden. This was a challenging painting of a familiar subject.

Reference Photo
Below is the reference photo I painted from. Feel free to paint it for yourself. Here is a link to the full-size image.

Details
- Oil on Ampersand Gessoboard, 18×24 inches.
- Main colors: ultramarine blue, cobalt blue, manganese blue (for parts of the sky), cadmium red, alizarin crimson, cadmium yellow, cadmium yellow light, viridian green, and titanium white.
Refer to my supply list for more details on what I use.
Notes and Lessons Learned
- This was a challenging scene to paint. To simplify the process, I broke it down into segments that I could focus on one by one: the grass; the plants, flowers, and trees; the buildings in the background; and the sky.
- Each segment is unique and required a different approach. For the grass, I worked all prima (wet on wet) with multicolored strokes and thick, visible brushwork. For the plants, flowers, and trees, I built up layers of detail and distinct color. For the buildings, I used flat brushwork and simple color shapes. For the sky, I used color gradation and thick, dabbing strokes.
- The white flowers on the right-hand side were difficult to capture. Notice how they are partly in light and partly in shadow. This invites all kinds of color perception problems. In particular, the parts in shadow appear lighter than they really are. To get it right, I tried to see the colors objectively. I also used small dabs to test my colors before committing.
- This is a familiar scene for me. I spent much of my childhood playing in this garden. This familiarity surely influences how I paint it. For example, I might be prone to exaggerate certain details due to my favorable experiences with them.
Progress Shots
Step 1: Thin wash of ultramarine blue. Use paper towel to lift paint from light areas. Roughly map out the dark areas.
Tip: Staining the canvas is a perfect time to warm up your hands and get a feel of the subject.

Step 2: Work on the grass in a direct manner. I used multicolored strokes and thick, visible brushwork for this.

Step 3: Work on the sky and buildings in the background.

Step 4: Add detail to the plants and trees.

Step 5: Make sure all the parts work together as a whole.


Step 6: Finishing touches, sign, and photograph.
Detail Shots
Thanks for Reading!
I appreciate you taking the time to read this post and I hope you found it helpful. Feel free to share it with friends. If you ever want to learn more, you should check out my Painting Academy course.
Happy painting!
Dan Scott

Draw Paint Academy

